Cottage Cheese Breadsticks
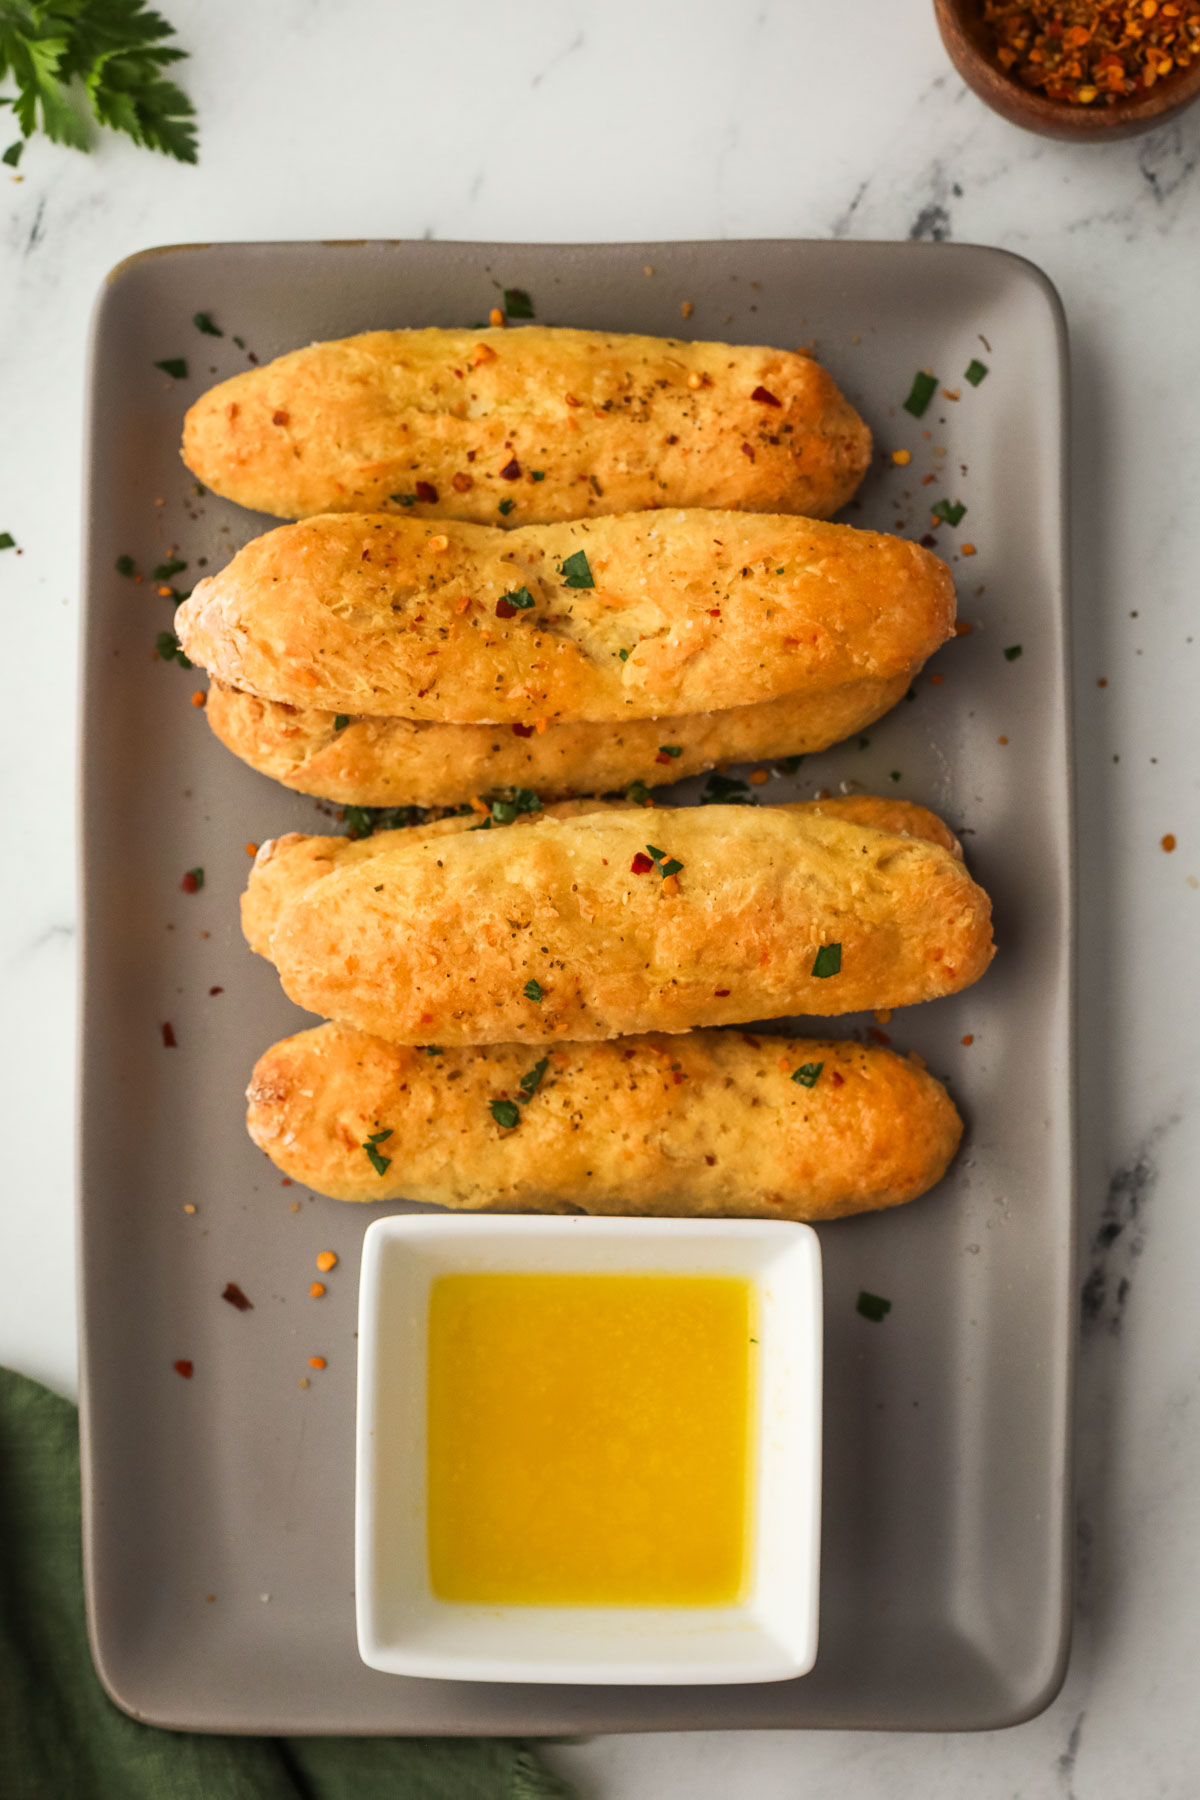
These 2 ingredient breadsticks are perfectly chewy with a slightly crispy crust. You’ll love how easy it is to make these tasty, healthy breadsticks!
I know it might sound crazy but after I discovered how easy it was to make cottage cheese bagels, I decided I had to try making breadsticks! It turned out to be so simple, and I loved the flavor. These don’t taste like a healthy alternative to breadsticks; they taste like the real deal! The best part is, since they’re made with cottage cheese, they’re a good protein source!
Ingredients & Substitutions
- Self-Rising Flour– You can use all-purpose flour if you don’t have self-rising flour. Use one cup of all-purpose flour mixed with 1 1/2 teaspoons of baking powder and 1/4 teaspoon of salt.
- Cottage cheese– You can use low-fat or full-fat cottage cheese; either one works great. You can use plain Greek yogurt if you don’t have cottage cheese.
- Seasoning– This is optional but you can top them with garlic, sea salt, rosemary, parsley, or other herbs.
How to Make Self-Rising Flour
If you don’t have self rising flour, it’s easy to make your own! The ratio is one cup of all-purpose flour mixed with 1 1/2 teaspoons of baking powder and 1/4 teaspoon of salt. This makes slightly more than one cup of self-rising flour, which is all you’ll need for these breadsticks.
How to Make Cottage Cheese Breadsticks
Tips & Tricks
- These breadsticks are best served straight from the oven. If you’re enjoying them as leftovers, I recommend reheating them in the oven, air fryer, or toaster oven for a few minutes.
- You can make these with plain Greek yogurt if you don’t have cottage cheese.
- Try serving these breadsticks with garlic dipping sauce, pesto dip, or vegetarian pizza dip!

How to Store and Reheat Leftovers
To store leftover breadsticks, allow them to cool completely at room temperature. Once cooled, place them in an airtight container or resealable bag to maintain freshness. Store the container or bag in a cool, dry place, such as the pantry or cupboard. (Do not store them in the fridge as this will cause them to dry out.)
When reheating, preheat the oven to 350 degrees. Arrange the breadsticks on a baking sheet and bake for about 2-3 minutes, or until they are heated through and crisp. You can also reheat these in an air fryer. Set the air fryer to 300 degrees and air fry for 2-3 minutes or until heated.
Print
Cottage Cheese Breadsticks
- Prep Time: 5 minutes
- Cook Time: 20 minutes
- Total Time: 25 minutes
- Yield: 6 breadsticks 1x
- Category: Side Dish
- Method: Oven
- Cuisine: American
- Diet: Vegetarian
Ingredients
- 1 cup cottage cheese
- 1 cup self rising flour
- Olive oil and/or seasonings (optional)
Instructions
- Preheat the oven to 375 degrees.
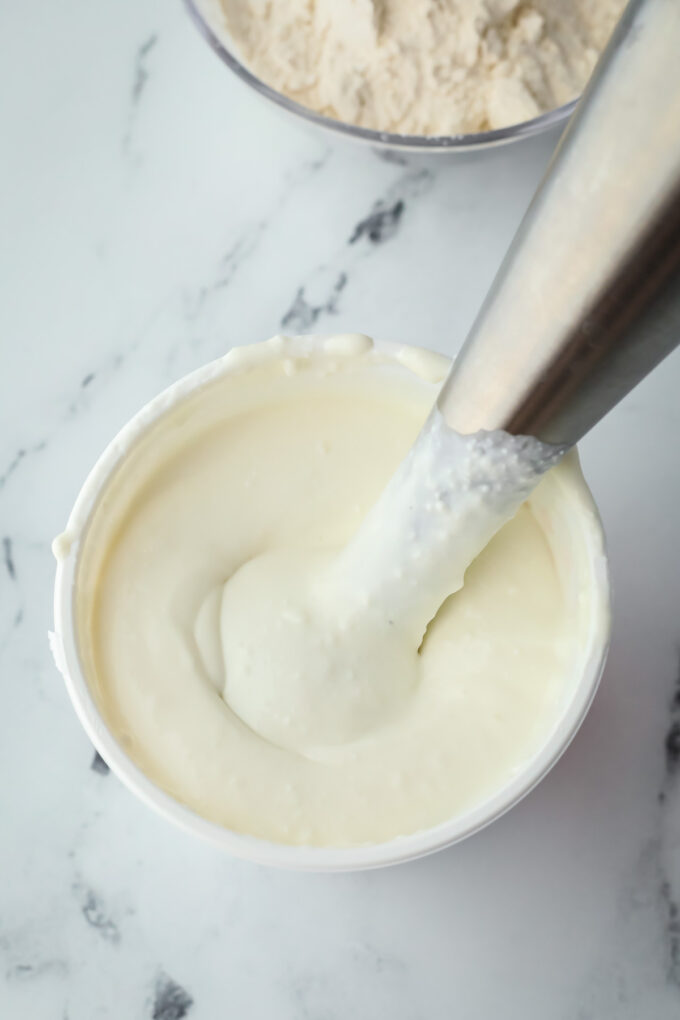
- Using an immersion blender, traditional blender, or food processor, blend the cottage cheese until smooth.
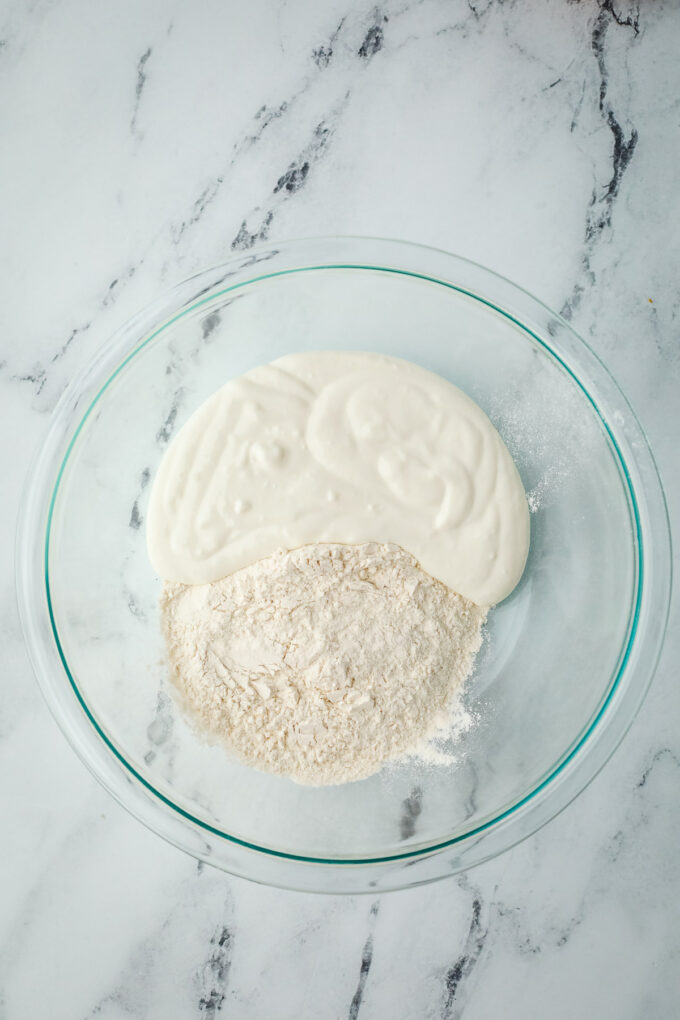
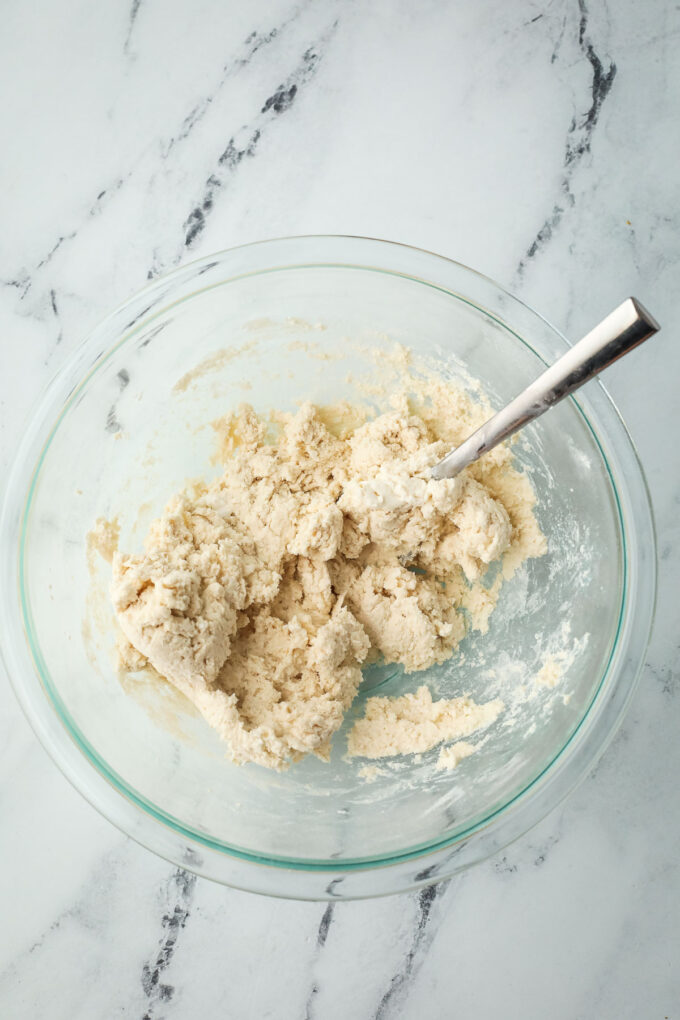
- Transfer the blended cottage cheese to a bowl and use a large spoon to combine with the flour, until the dough is mixed.
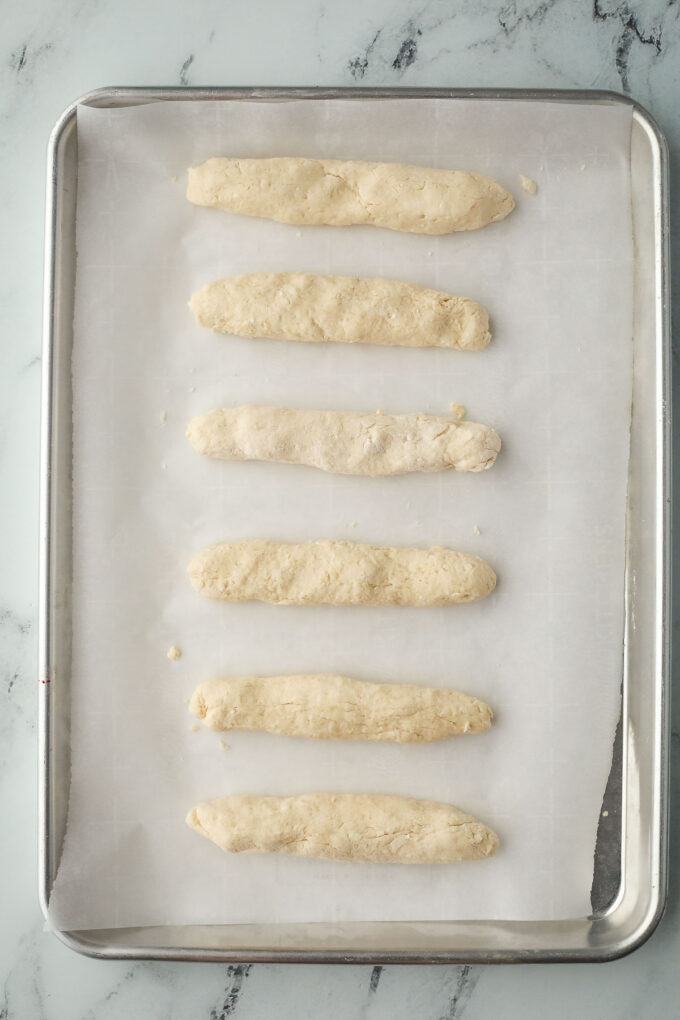
- Roll each piece into a log and place on a parchment paper lined baking sheet.
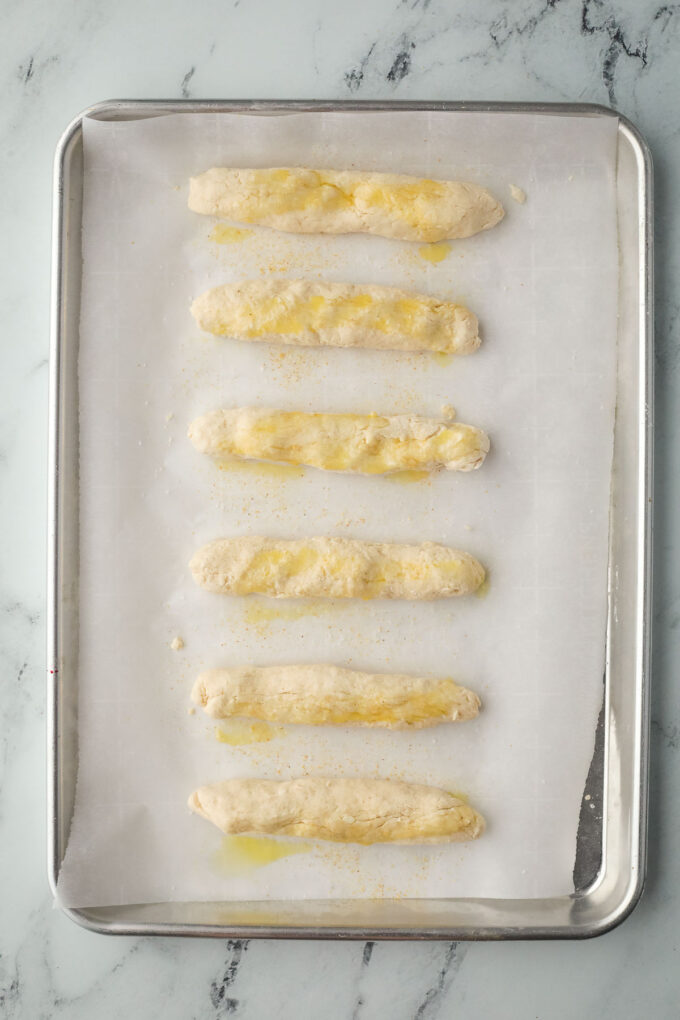
- If desired, brush or spray the breadsticks with olive oil and add any seasonings you’d like. (Salt, garlic powder, or Italian seasoning are all delicious!)
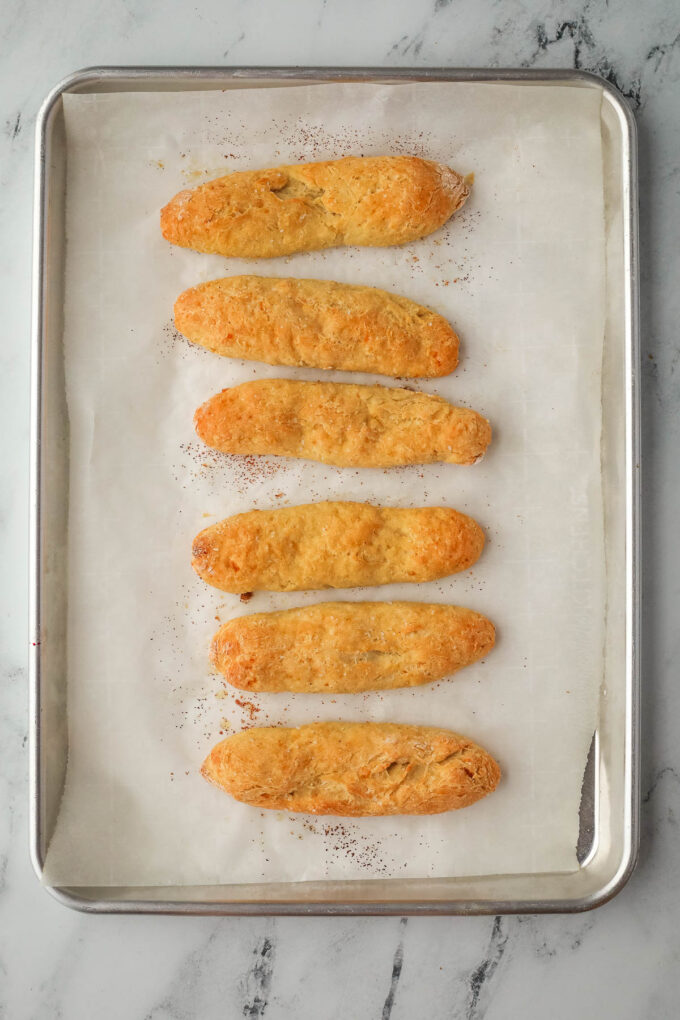
- Bake for 18-20 minutes until golden brown.

I found the dough incredibly sticky and hard to work with. I would add some evoo next time, instead of spraying it on. The texture was nice, but t h e bottoms burned before the top browned nicely.
i haven’t finished baking yet, but i agree that the dough was very sticky. it took a lot of soap to wash my hands and my utensils
I didnt have self rising flour so i used AP flour, salt, and then dropped in 80g of sourdough starter. After some basic sourdough steps, I shaped into knots and baked with butter and garlic salt on top.
Delicious!
Light, fluffy and wonderful!
The Greek yogurt substitution is not great. They maintain the sour flavour of the yogurt. (I had high school students making this recipe, and they were turned off by the very thought of cottage cheese being in a baked good.)
I insisted that the next group use cottage cheese and they were definitely better. The students gave mixed reviews. I wasn’t disappointed, but I also wasn’t blown away. I don’t know that I would go out of my way to make these, but if I found cottage cheese reduced for quick sale I might give it another go. My favourite seasoning combination was garlic salt and Italian seasoning.
I gave these breadsticks a shot, and they’re definitely a keeper! The simplicity of the recipe combined with the fantastic texture and flavor make these breadsticks a hit. They’re chewy on the inside with a delightful crispy crust, and I love how healthy and easy they are to whip up.
Wow! This breadstick looks so delicious and overloaded with cheese! Totally love the texture making this pastry so enticing and very tempting! A perfect treat to pair with our hot drinks!
Simple and delicious! These unique cottage cheese breadsticks are a hit. Thanks for sharing.
This cottage cheese breadsticks are so delicious and easy to make, we loved it and made second batch straight away .
I love how simple this recipe is – so simple in fact that now my teenage, bread-loving son can make them himself (he loved them too!)