Kitchen Makeover: Before & After
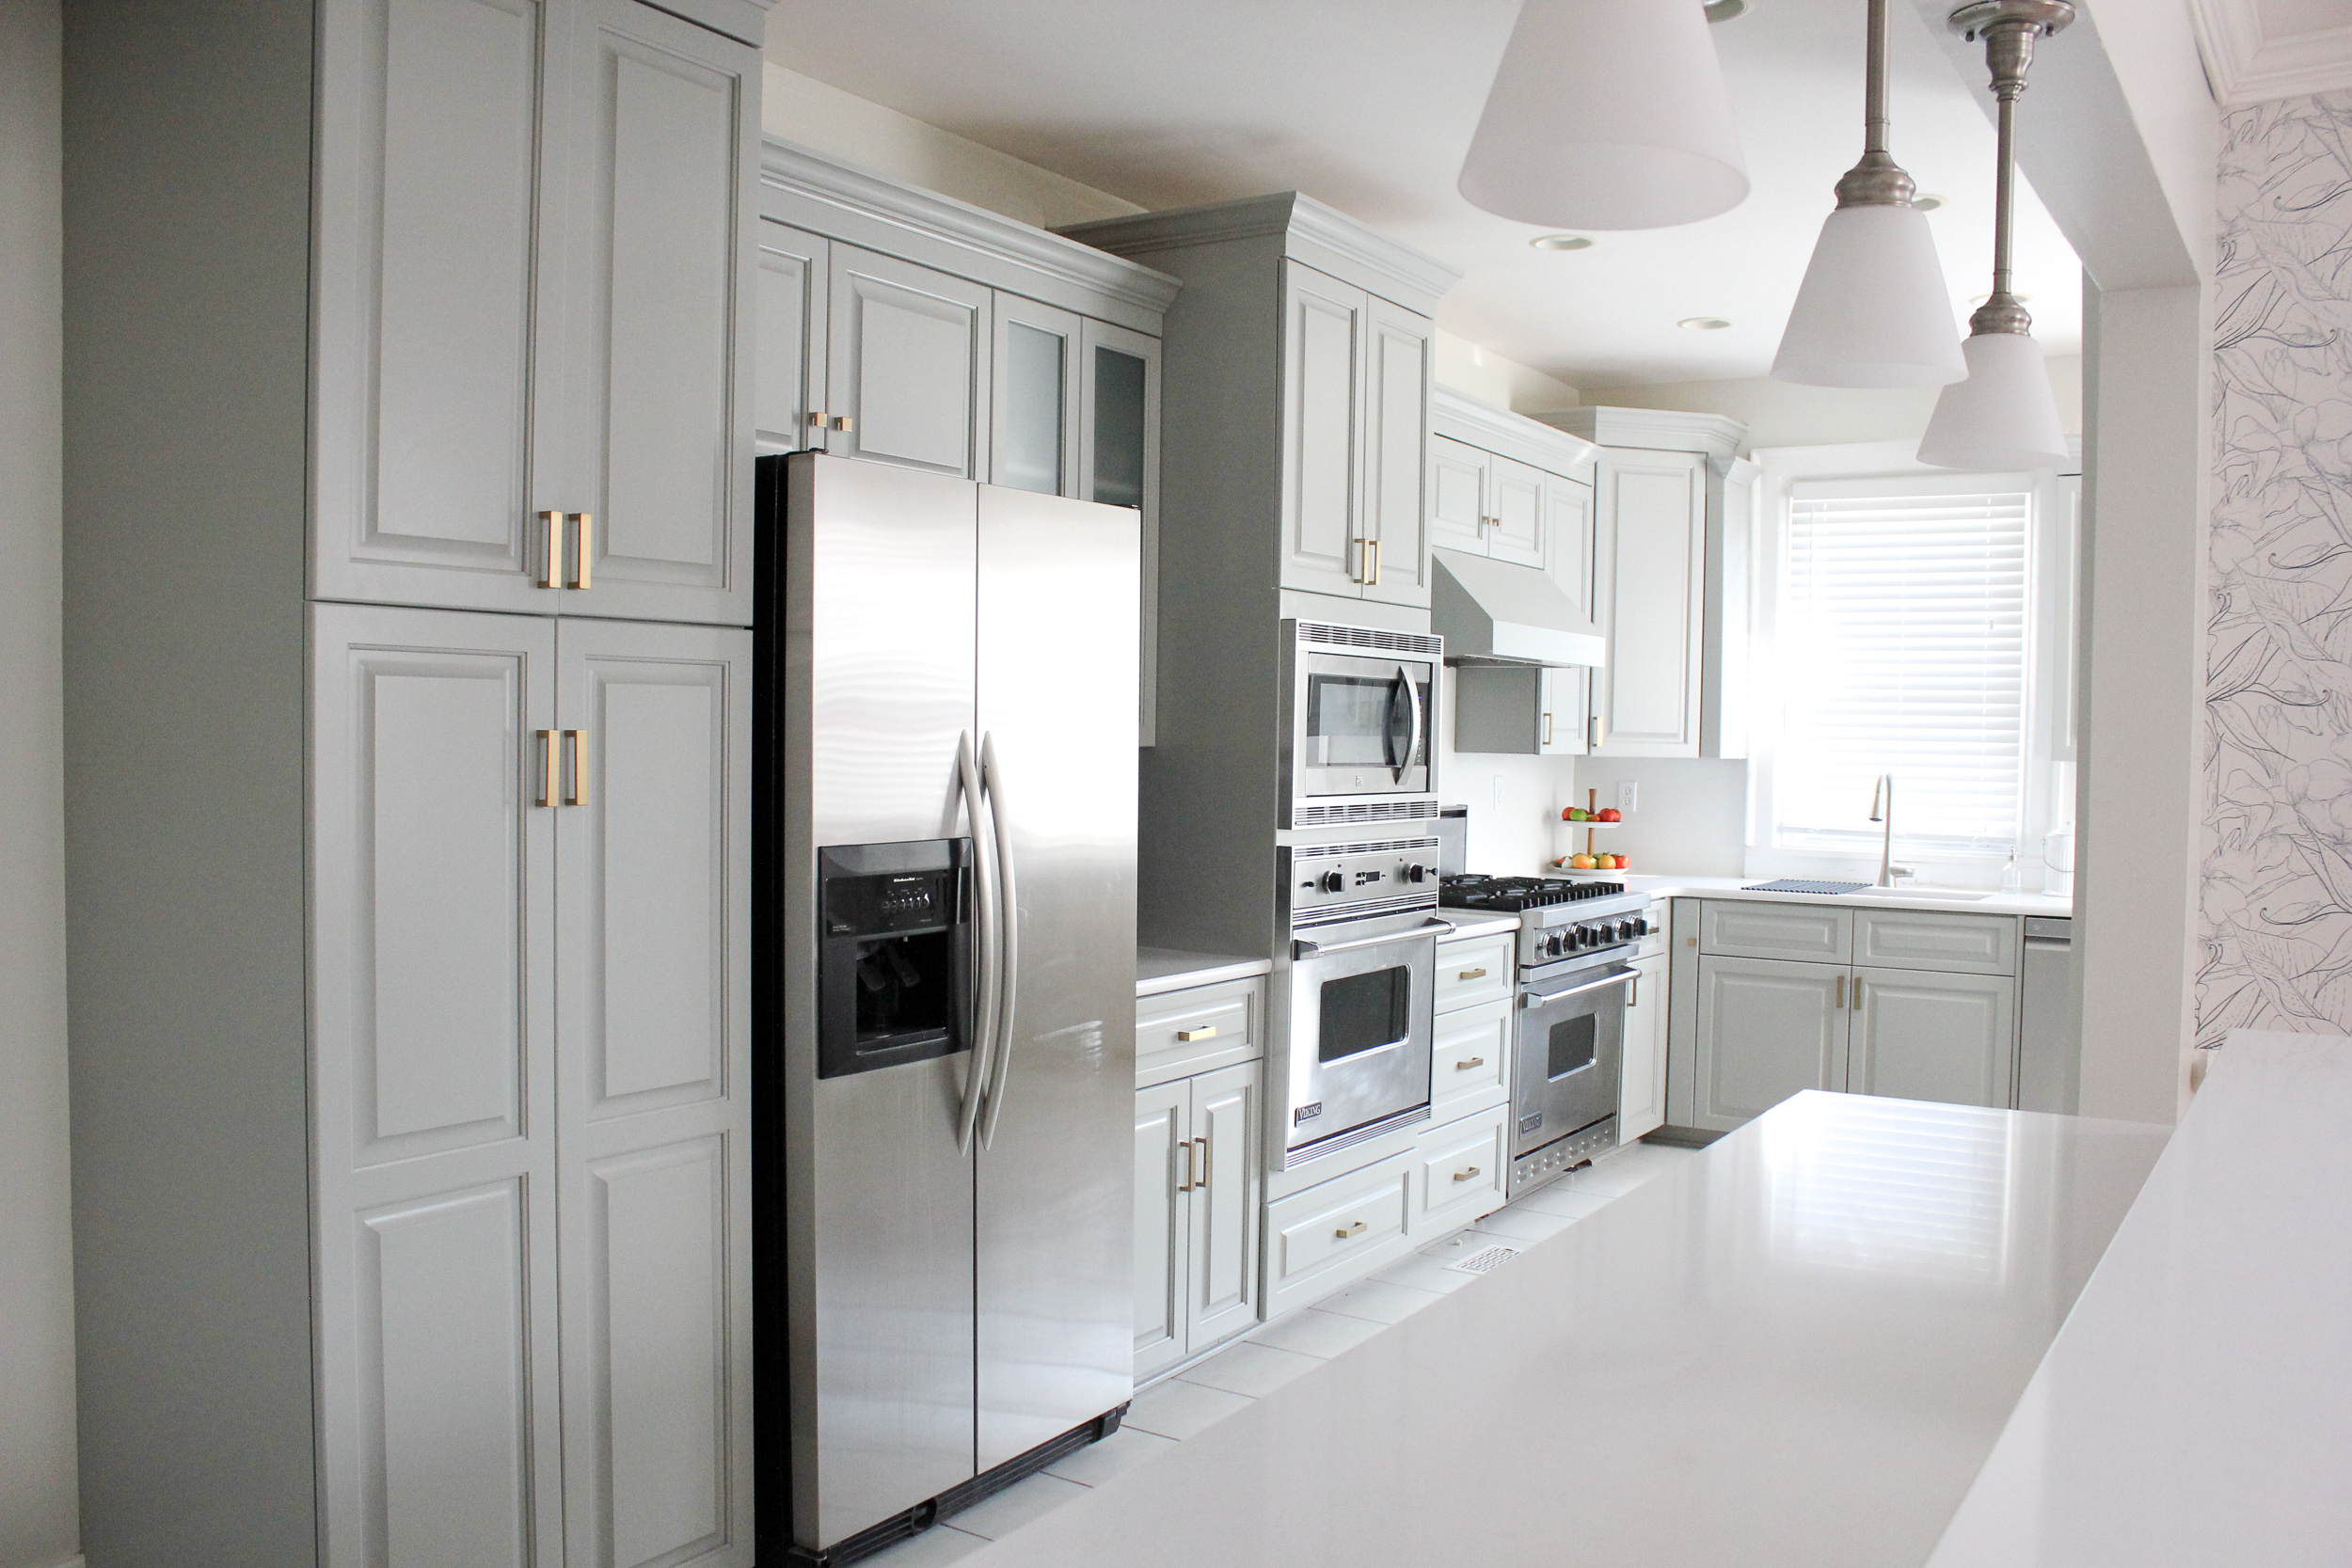
I’m so thrilled to share the before and after pictures of our kitchen! I’ve always loved the layout of the space, but it needed a little facelift to match the rest of our house. This is the room I spend the most time in, and I love how it turned out.
When we were house hunting in 2014, this house won me over as soon as I saw the kitchen. Alex and I live in the city, and most of the homes are nearly 100 years old. It’s hard to find a house with a large kitchen, so we got lucky when we stumbled upon this one. (We made an offer the first day it was on the market!) I absolutely love the layout and space. The colors and style weren’t my first choice, but I knew the kitchen’s functionality would be worth it.

One of my favorite features is the kitchen island. It’s 8 feet long, and it tends to be the gathering place when we have people over. There are barstools on the backside with a bar height overhang. Since we were replacing the countertops, I considered making this all one level, but I decided I liked having the separate bar height countertop in the back. When I’m making recipes, it’s nice to keep my laptop on a separate level since I tend to make a mess when I’m cooking!
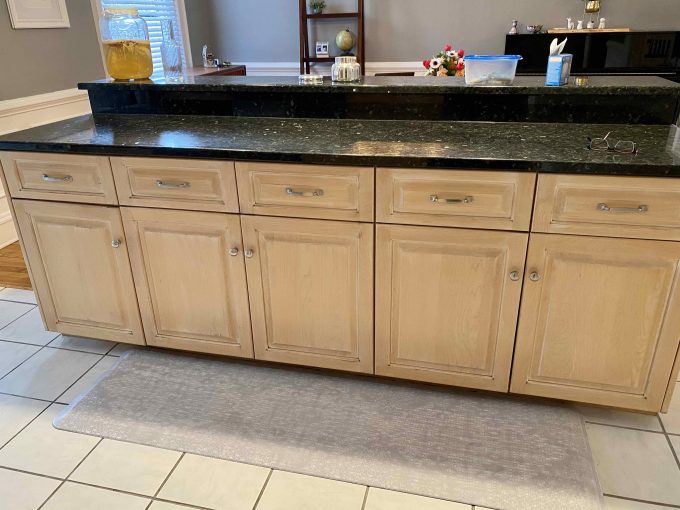
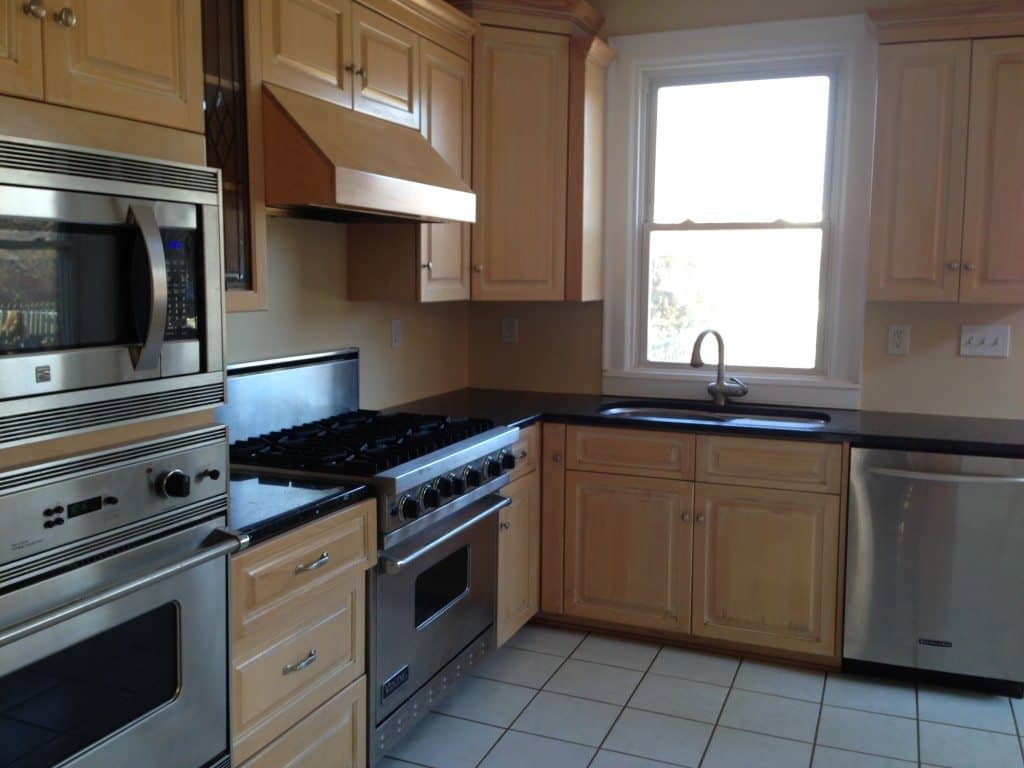
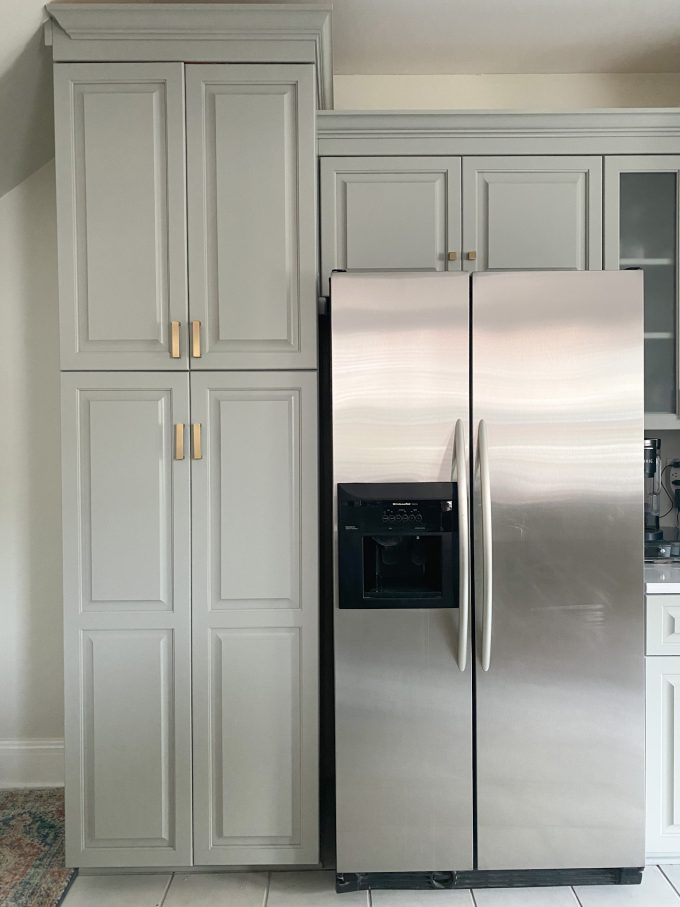
It might be hard to see in the photos, but there was definitely some visible wear and tear on the cabinet doors. The photo below is from when we first moved in. We painted these yellow walls grey shortly after moving in, but that was one of the few updates we made to the space.
As you can tell, we have a lot of cabinets and counter space, so I didn’t need to change anything about the layout. I really just wanted to update the kitchen so it would reflect our style.
Our Kitchen Plans
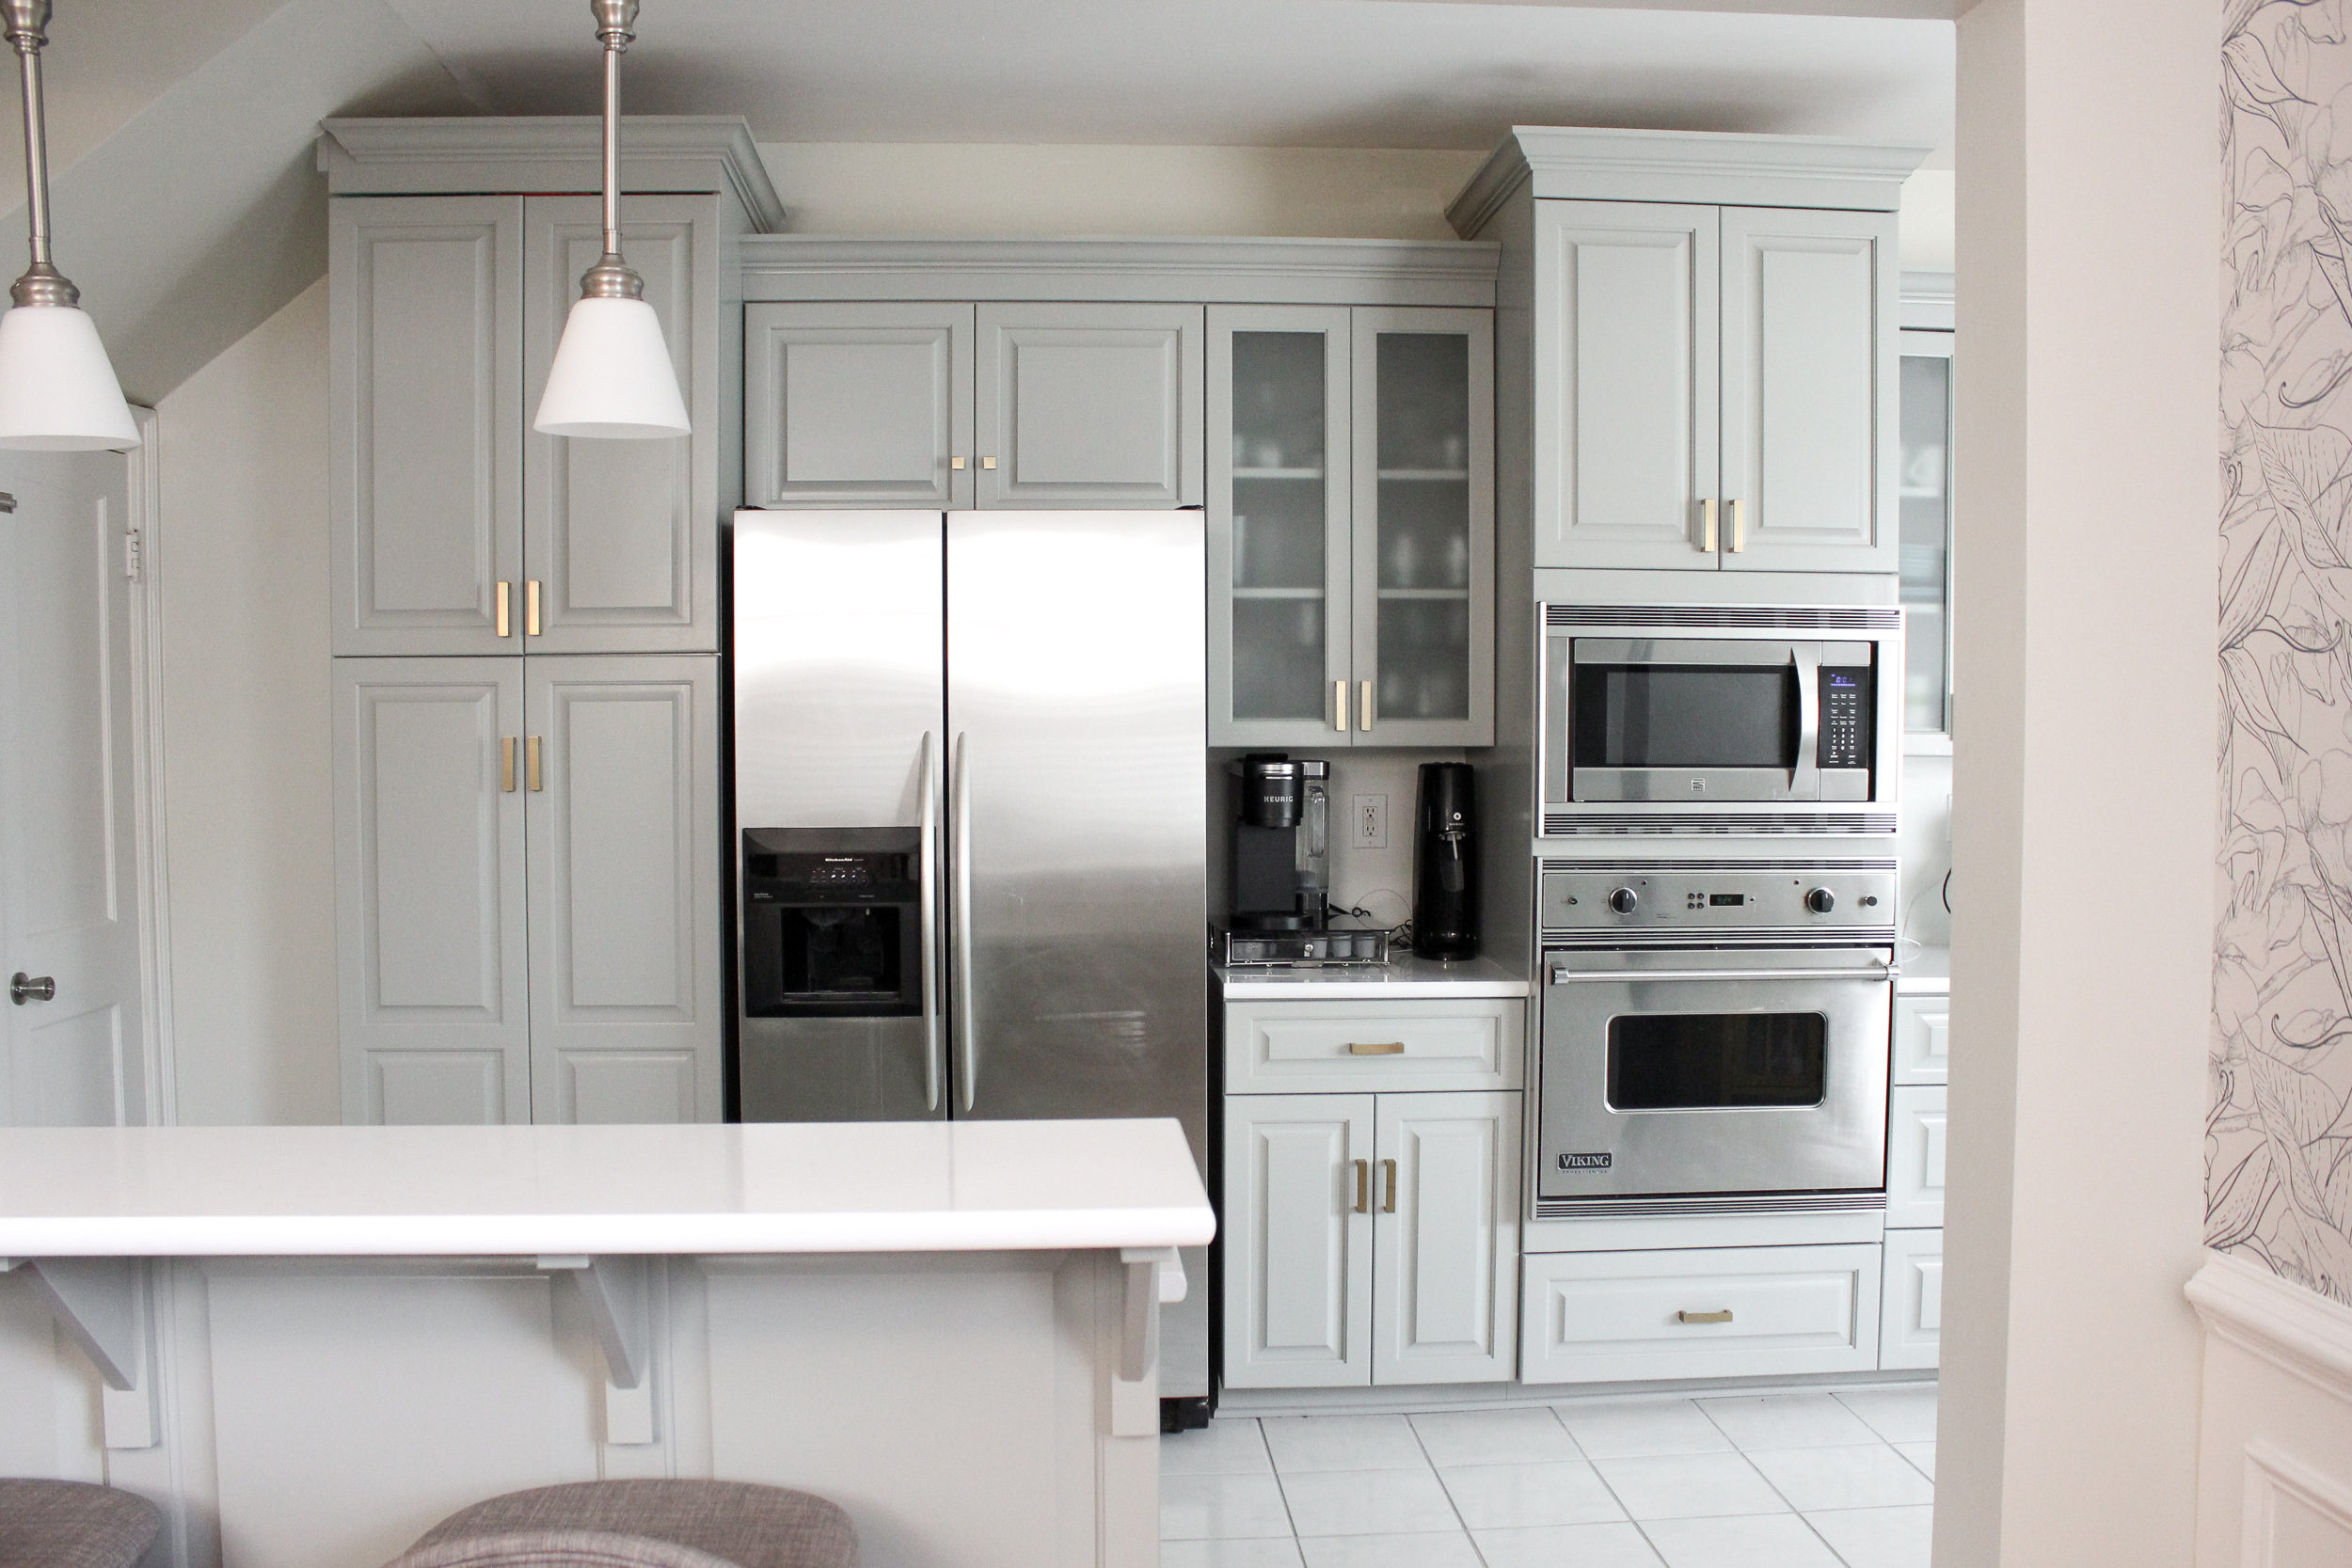
- Paint the cabinets– We knew they needed to be refinished and I didn’t love the light wood color. The new cabinet color is Argos by Sherwin Williams.
- Replace the countertops with quartz– I felt a little silly replacing the granite but I really disliked the color. It’s hard to tell in the photos but they were dark green. We replaced it with “alabaster” quartz.
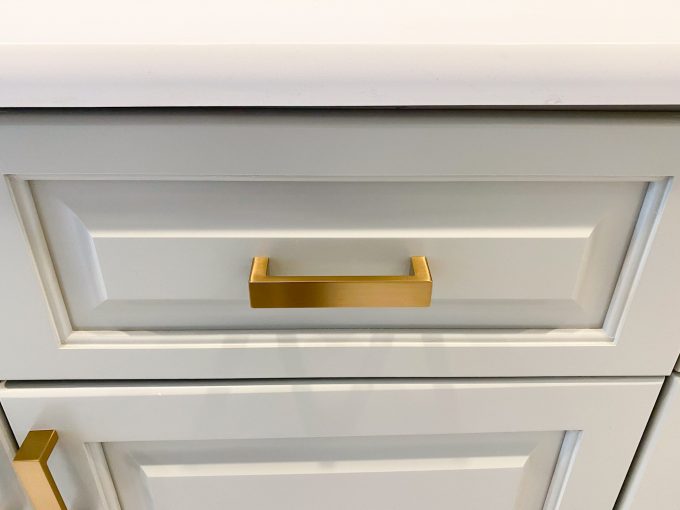
- Replace the cabinet hardware– I didn’t love the original hardware and I wanted something more substantial. I love the brushed bronze color of the new handles!
- Replace the glass panes– The leaded glass panes weren’t my style, so we swapped them out for frosted glass to give the kitchen a more modern look.
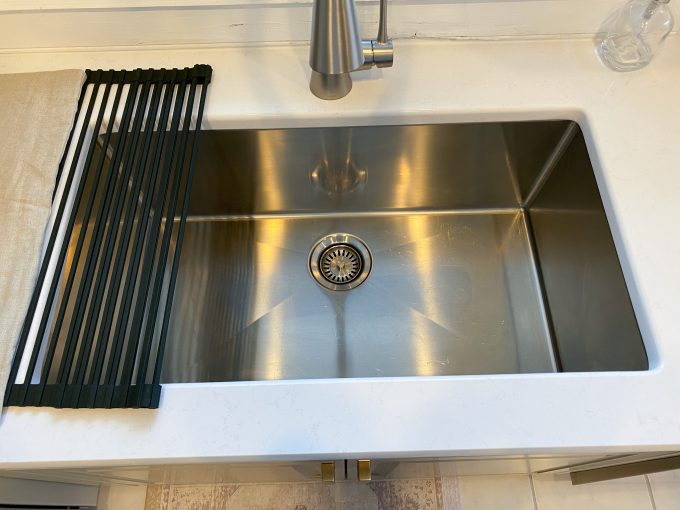
- Replace the sink and faucet– I really wanted a large single basin sink and our original faucet didn’t work properly, so we upgraded that, too!
- Repair the floor– There were 6 cracked floor tiles. We actually wanted to replace the entire floor but it ended up being a lot more expensive than we expected. So we just replaced the broken tiles and decided to live with it!
- Repaint the floor grout– I actually did this when we first moved in and it makes a huge difference. I gave it a fresh coat and I’ll share a before and after photo below.
Cabinet Painting and Refinishing
We used N-Hance Richmond for our cabinet painting, and I’ll give you my candid opinion. It was expensive, but we decided it was worth the investment because the cabinets have a 10-year warranty against chips and cracks. The paint is cured with UV light, so it’s more durable. (Think gel nails vs. a regular manicure.) Since I use our kitchen a lot, we wanted something that would last. Here’s a review of the N-Hance service now that we’ve had our kitchen finished for over a year.
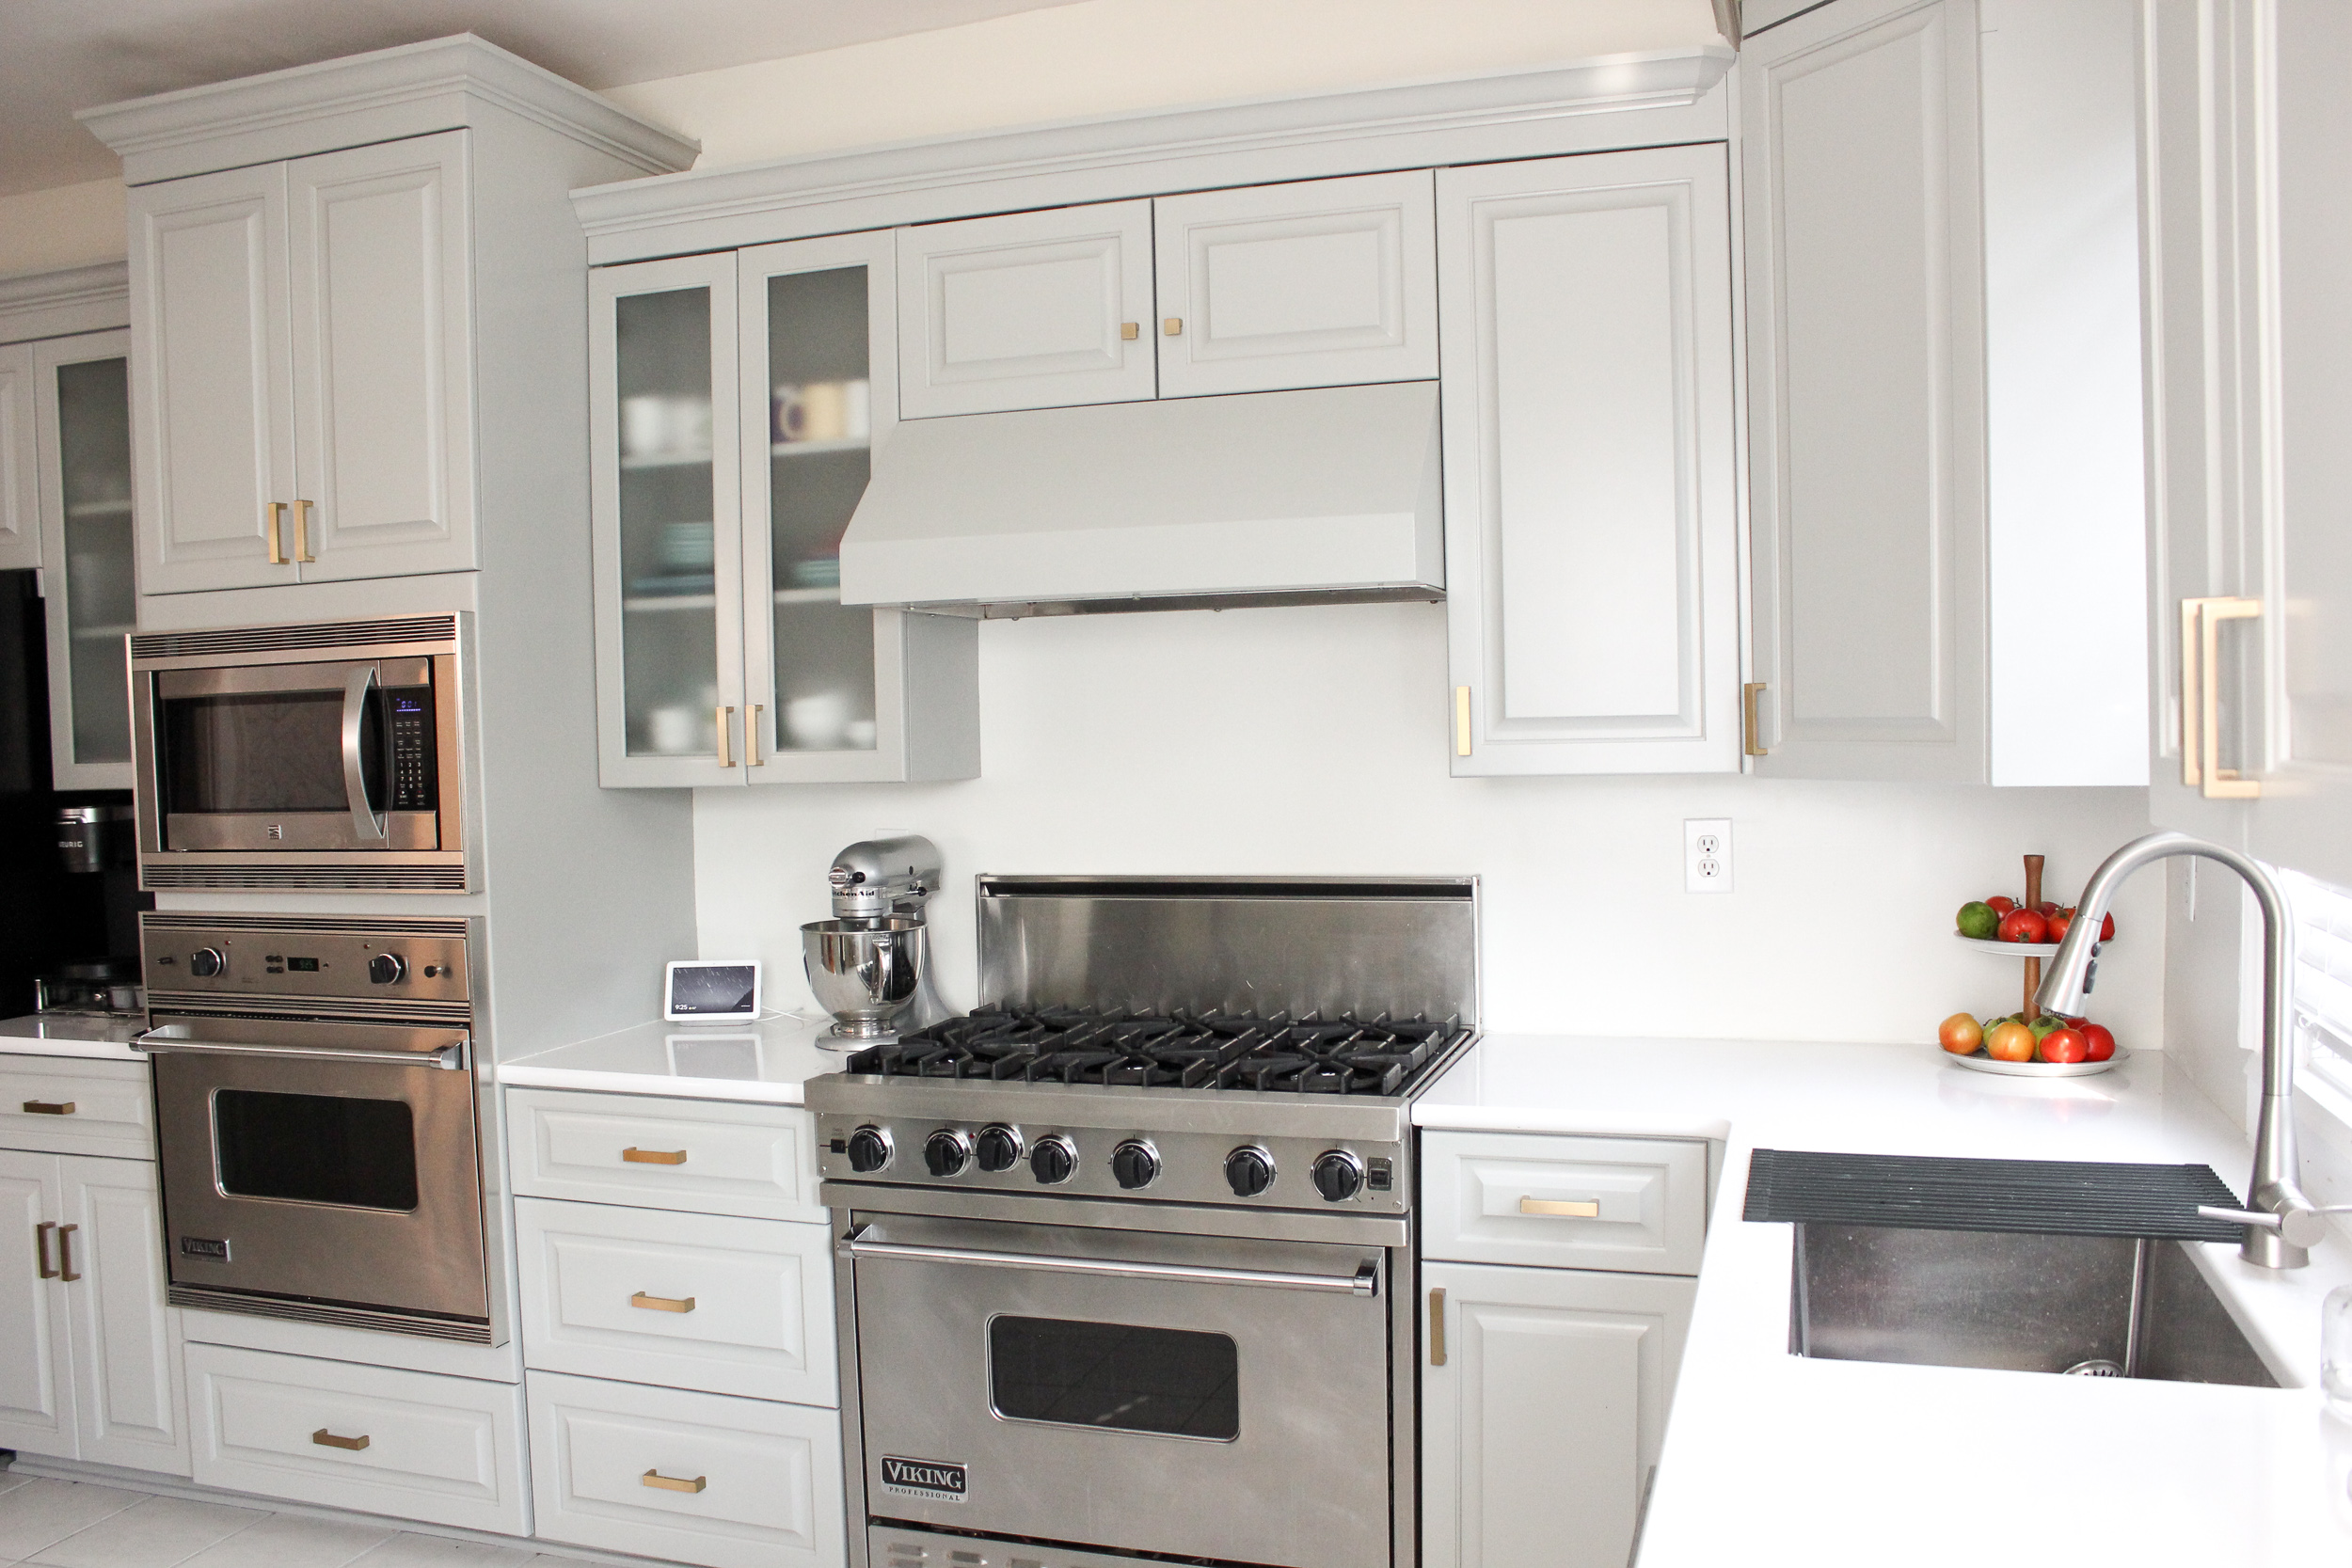
It was a little hard to capture the color of the cabinets in the photos accurately, but this photo below is probably the closest to the actual color!
Overall, I’m happy with the job. They started on a Monday and finished by Friday, so my kitchen was only out of commission for a week. The paint job was great; there is only one spot with a slight crack in the paint. They drilled new holes for the hardware, and a few of the handles aren’t straight. It’s a little annoying, but I’m telling myself that I’m the only one who will notice!
We also opted for them to add slow-close hinges to the doors. For some reason, they forgot to add hinges on 3 of the doors. They said they’d come back and add them, but they never did. (I called twice and asked if they’d come to finish, and they never called me back.) But the paint looks great, and I’m hoping it will hold up nicely.
New Countertops
I’ve been dreaming of quartz countertops since we bought our house, and I’m so happy with how it turned out. I felt a little silly replacing granite countertops, but I didn’t want to base all of our design decisions off a countertop color I hated. So we priced it out and figured out how to make it fit in the budget. It’s my favorite thing about the kitchen! We used Capitol Granite, and I’m really happy with them. There are a few slight imperfections in the quartz, and there was a bit of a delay with the installation, but they did a great job, and it looks fantastic!
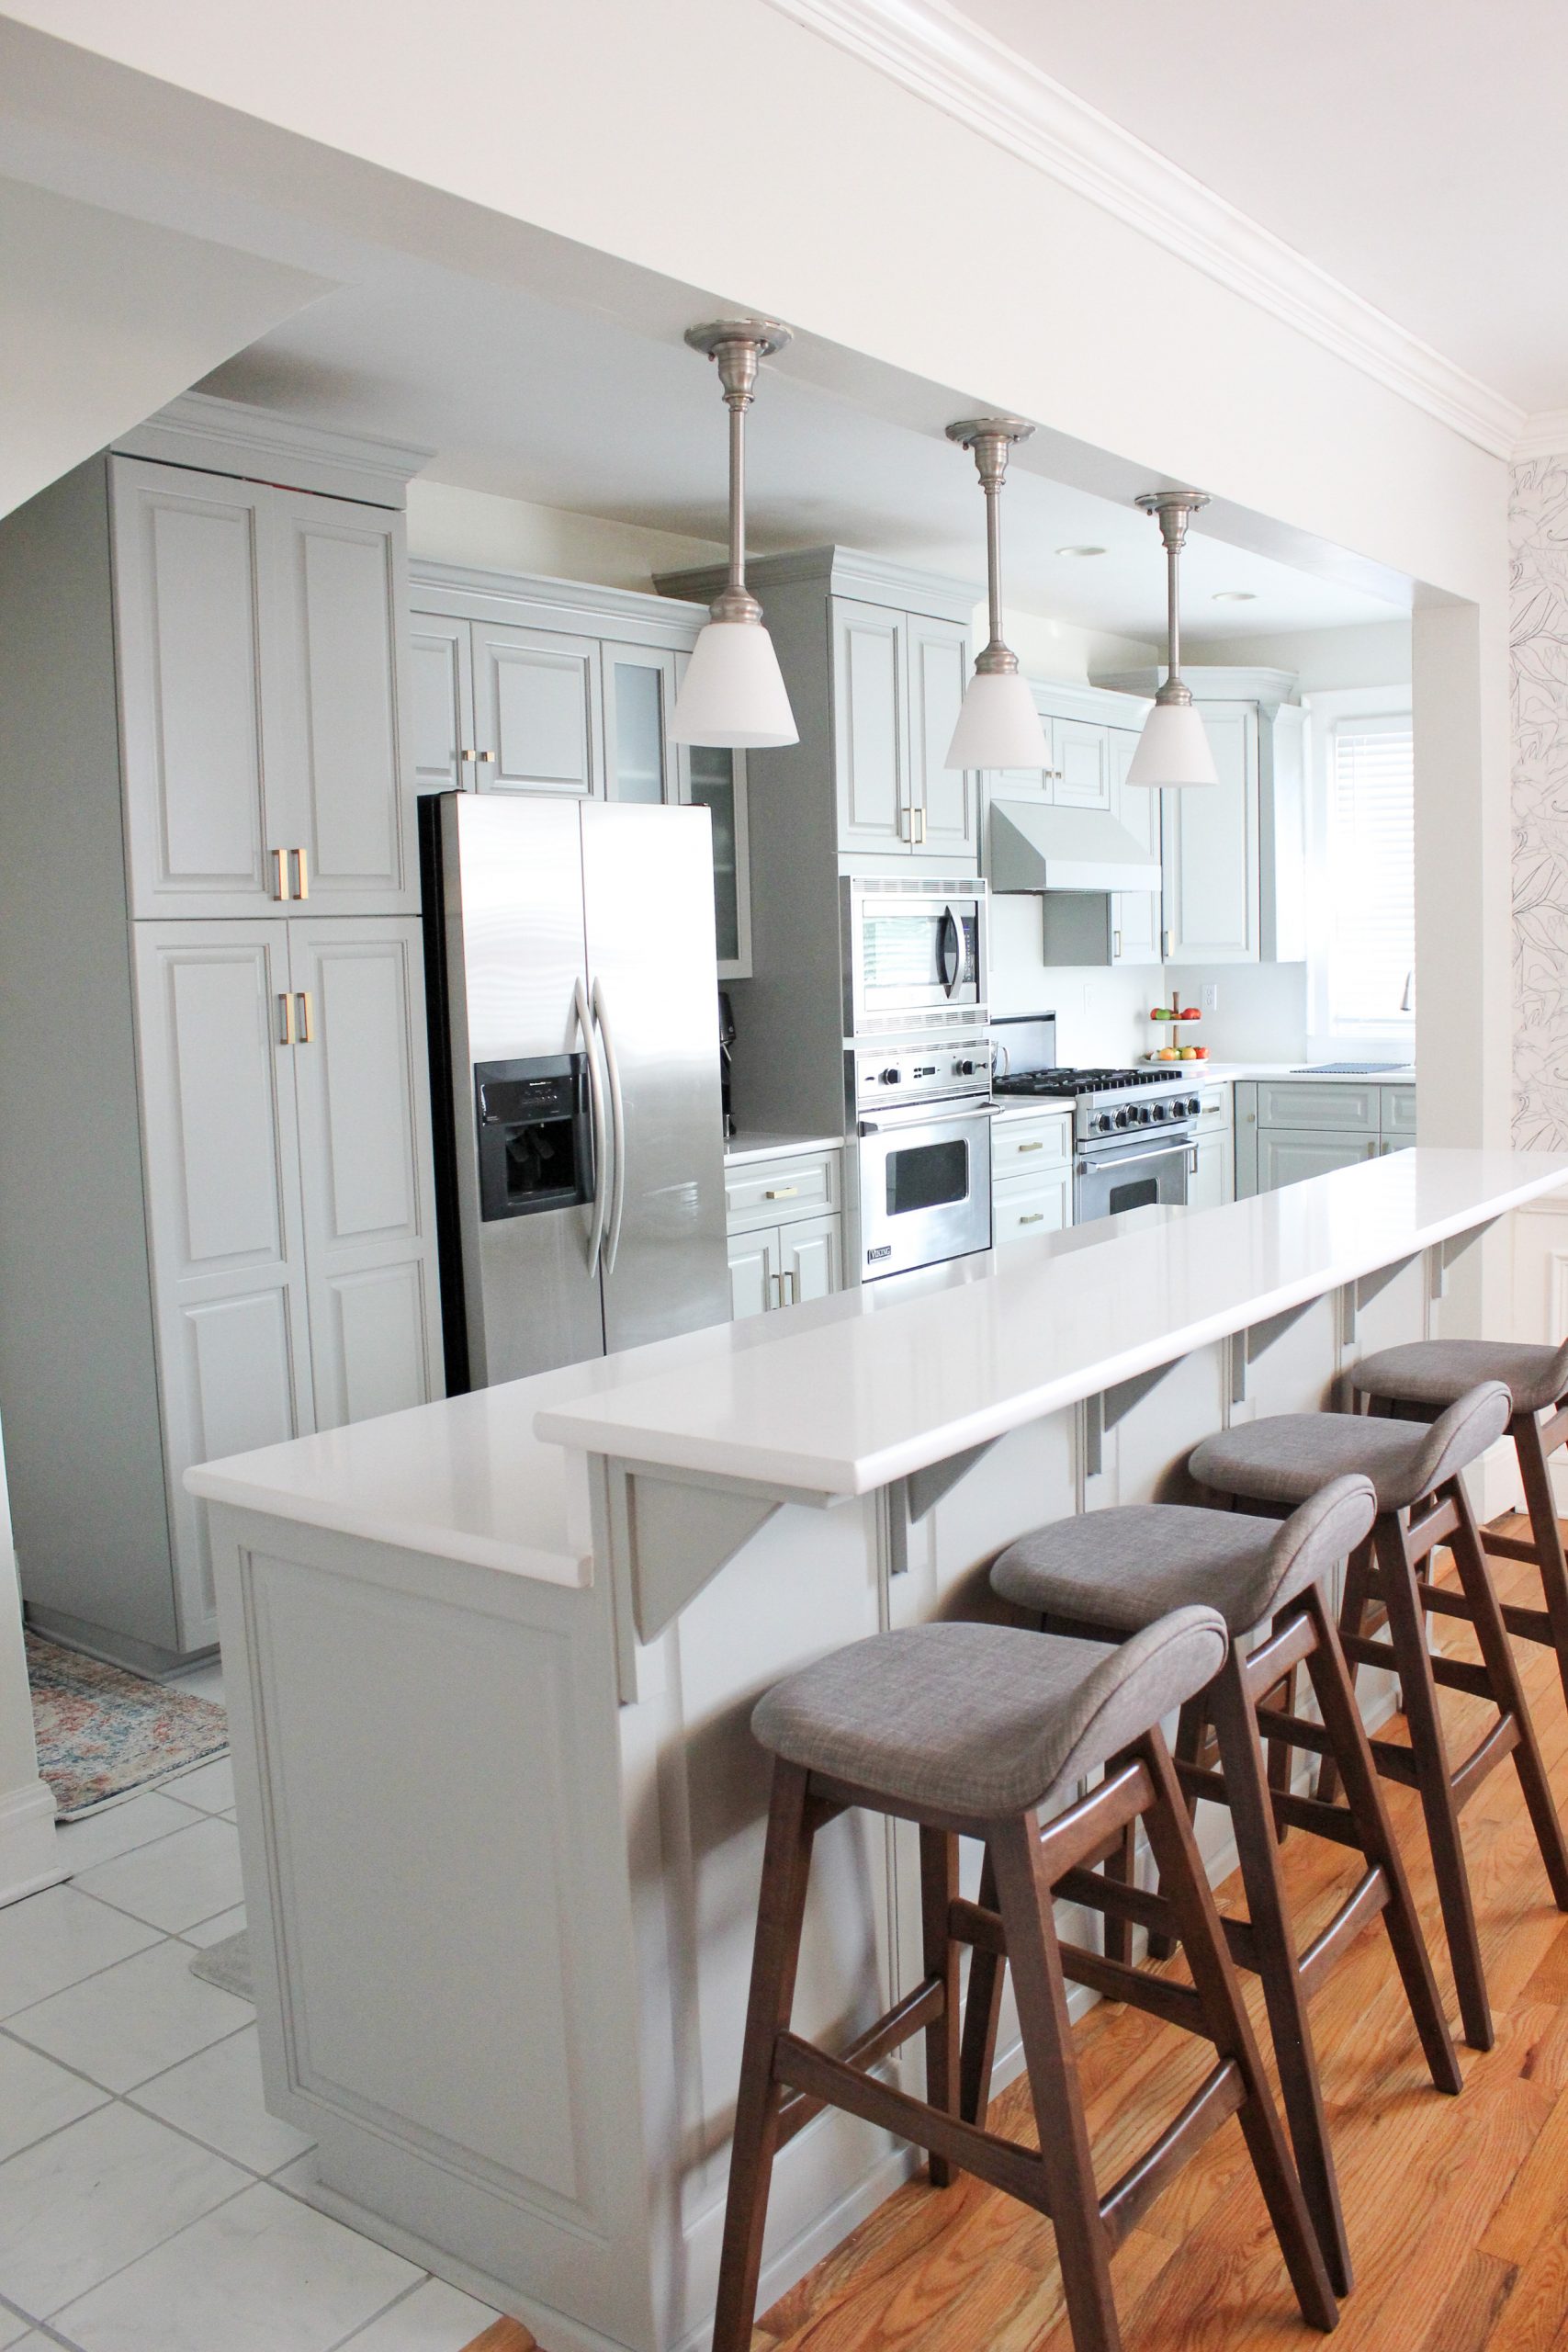
I get a lot of questions about the wallpaper in the dining room! You can check out this post about Walls Need Love wallpaper for all the details. The anti-fatigue mats are from House of Noa. I absolutely love them! I’m on my feet most of the day, so the mats definitely help. The barstools are from Target.
New Hardware
I wanted to replace the knobs with handles, and I was looking for a muted gold tone. I didn’t want anything too shiny, but I knew I wanted a warmer bronze color. I was thrilled to find these at Anthony’s, and the price was comparable to what I saw online and at the big box hardware stores. They’re a little brighter in the photo below than how they appear in person.
New Faucet and Sink
We went with a large single basin sink. It’s 34″ x 17″, which was the largest sink I could find. Since I do a lot of dishes, I wanted plenty of space. We got a Moen faucet, and it’s been fine; I have a few complaints but nothing major. Sonoma Wool Company sent me one of their drying mats, and I love how it blends into the countertop, and it dries quickly. We also picked up one of these over the sink drying racks, which has been really convenient for when we do a lot of dishes.
Repair & Refinish the Floor
I really wanted to replace the tile with hardwood floors to match the rest of our first floor, but the flooring companies told us that it would be extremely expensive and would require replacing the entire subfloor. Although I didn’t love the existing tile, I knew I could live with it, so it wasn’t worth it to replace everything. Instead, we hired Marblelife to replace the cracked and broken tiles. We were fortunate that the previous owner left us some extra tiles because we had 6 tiles that needed to be replaced. Marbleife did it all in one day, and other than being a little noisy, it was a pretty painless process. I would highly recommend them if you have any tile to be repaired!
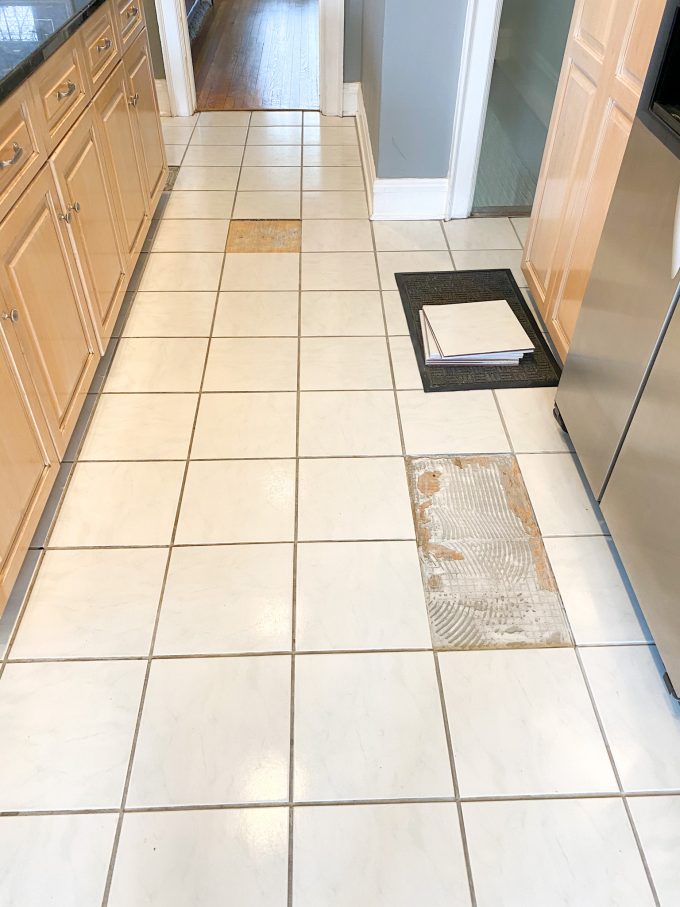
I used Polyblend Grout Renew to repaint the grout lines on the kitchen floor. The previous grout was a brown color that didn’t do the floor any favors. It took me 3 tries to find the perfect shade, but it was worth it! You can see how it brightens the floor in the photo below.

I would estimate that it took around 6 hours to do the whole kitchen floor, but I did it a couple of hours at a time. (I just put Netflix on my laptop and sat on the floor painting and scooting as I worked.) I’m telling you, this stuff is magic. For a few bucks and a lot of elbow grease, you can transform the look of your floors!
I’m thrilled with how this space turned out! I spend so much time in my kitchen, and the updates bring me so much joy! I’m glad to have everything crossed off the list… at least until our next project.
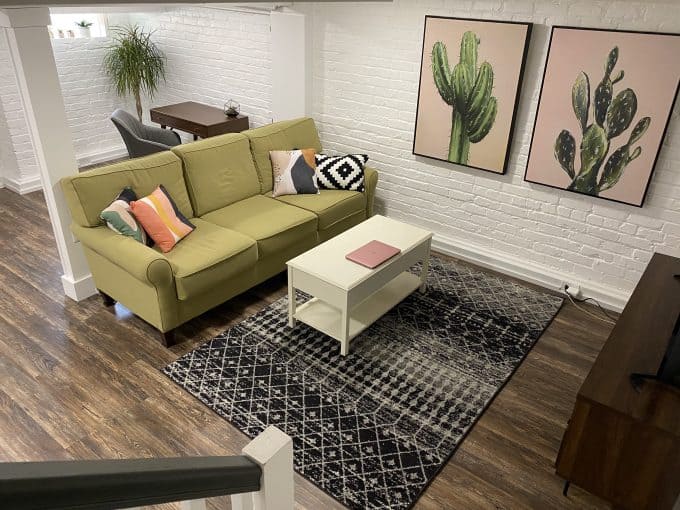
For more transformation pictures, check out our basement renovation!
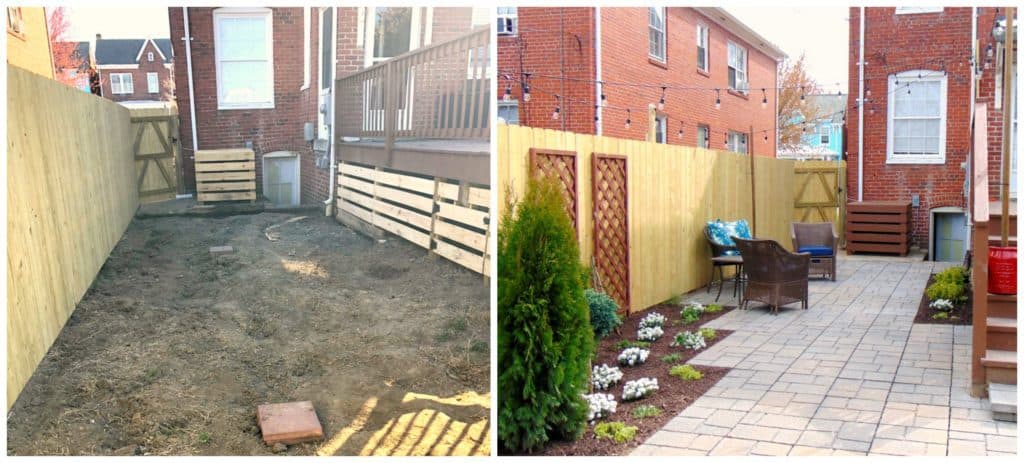
If you’re thinking about transforming your outdoor space, check out our DIY Patio makeover!

Pingback: Krishna House Salad Dressing Copycat Recipe - I Heart Vegetables
Pingback: N-Hance Review - I Heart Vegetables
Your Kitchen is looking very beautiful! Loved the transformation!
Amazing transformation! Love every detail!!!
Liz, what a gorgeous kitchen! I think it’s so cool you used Nhance for your cabinet refinishing. I’m looking forward to doing the same thing.
Thanks for your beautiful blog post.
Yeah, it was kind of a bummer that they left some things unfinished and didn’t return my calls when I tried to get them to fix it, but I guess nothing is perfect!
Your updated kitchen looks gorgeous 🥳🥳🤗🤗. But considering you said the cabinet company was expensive, and they’re not returning your calls about fixing the mistake They made with the soft closing doors. I would not accept that in any way shape or form. Simply not good enough. I hope you the things fixed 😕🤞🤞
Omg what a transformation!! Can’t wait to see it in person. So beautiful!