How to Measure Ingredients for Baking
I’m excited to share today’s post from baking expert and fellow Virginia Blogger Alisa! Truthfully, baking is not my expertise but I love learning the techniques! I asked Alisa if she’d be willing to share some tips and tricks for baking newbies like me and I’m thrilled with what she has to share! Read on to learn how to measure ingredients for baking!
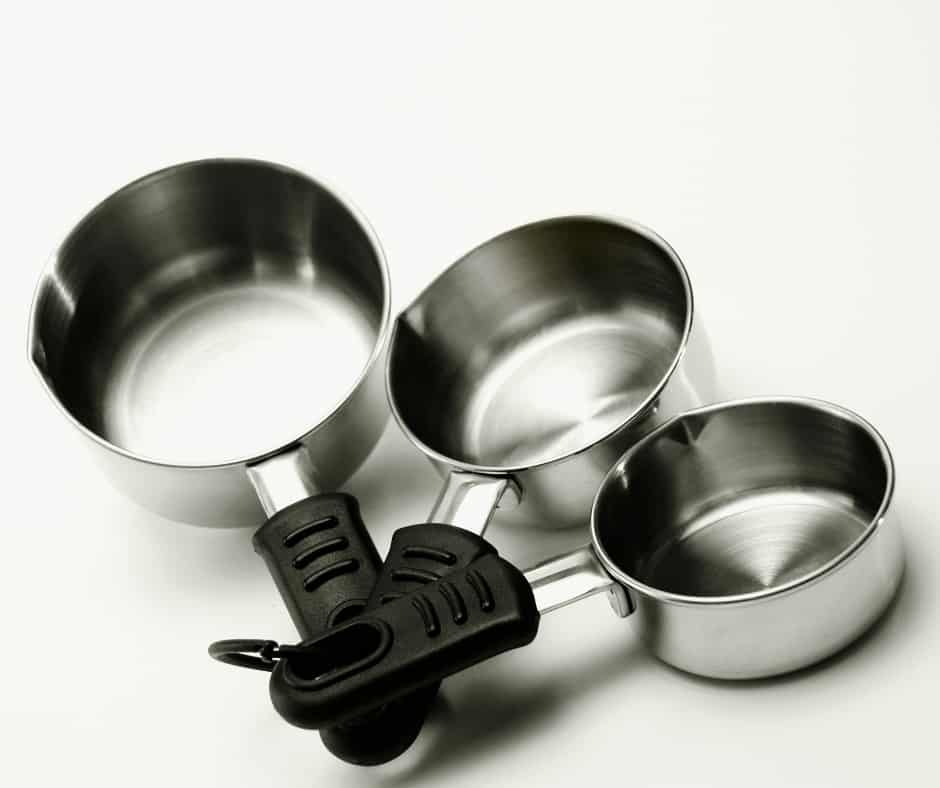
How do your measuring cups measure up?
There is nothing more frustrating to a baker than a cake that fails. Knowing that baking requires attention to detail, we carefully measure and mix our ingredients. Anticipation builds as we watch the wet batter turn into a light, airy layer of cake. You followed the recipe exactly, no substitutions, no improvising and it should be worth the ingredients consumed as well as the time spent but when all is said and done, the cake just wasn’t that good.
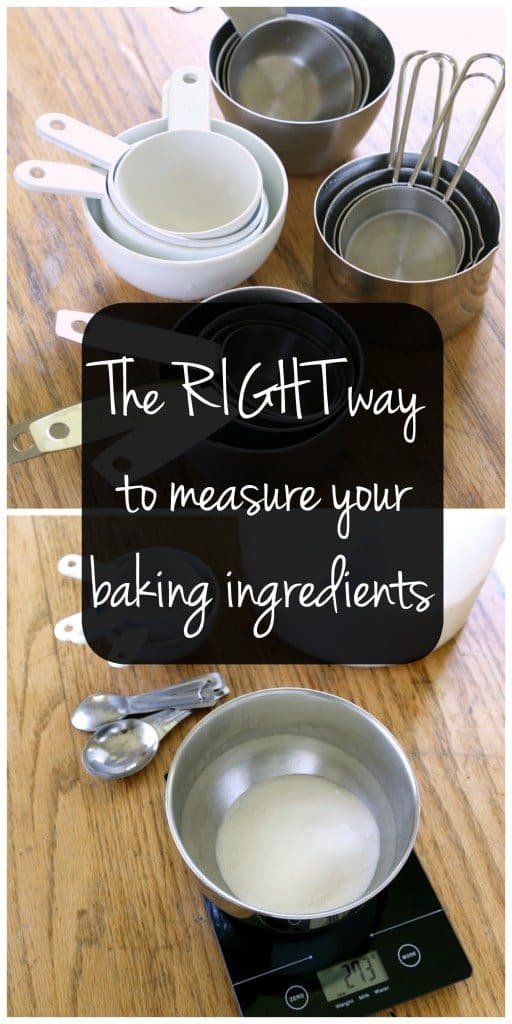
How to measure ingredients for baking
Whether you are new to baking or have been turning out cakes for years, one thing you can be certain of, exact measurements are a necessity. While some ingredients can be increased, decreased or even eliminated without affecting the structure, some can’t and must be measured out accurately if you want the results promised by the recipe.
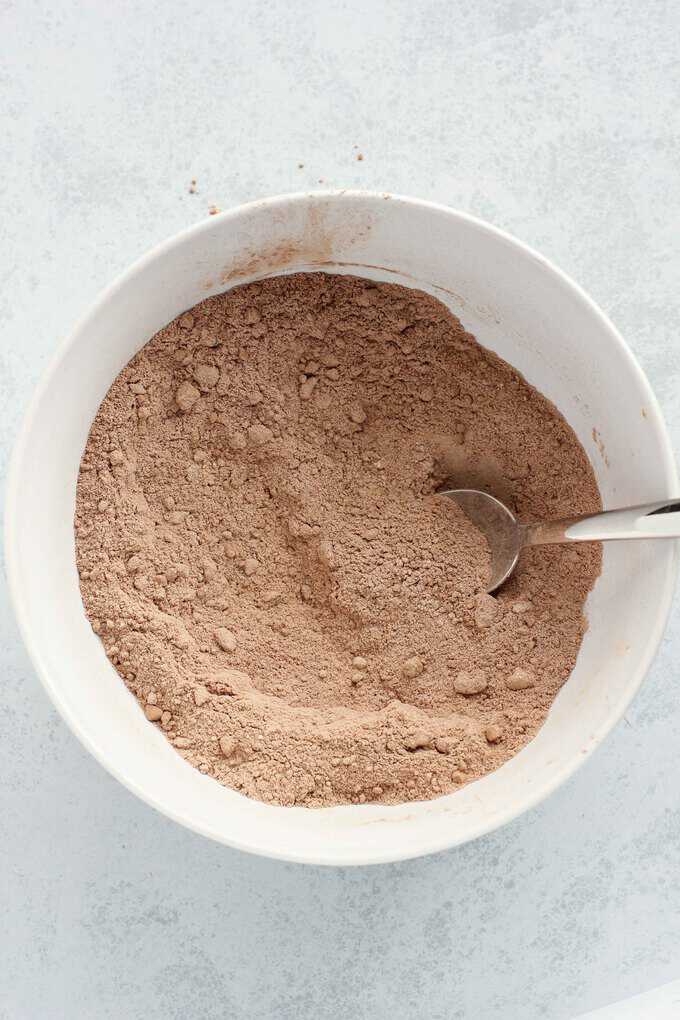
Pick up any baking book and chances are there is an introductory chapter that outlines what the ingredients are and how they should be handled as well as how to measure them properly. The methods vary but when it comes to measuring dry ingredients, the one most often called for is the “dip and sweep” method. What that means is you should dip your cup into the flour or sugar, filling it to overflowing and level it off by sweeping the surface with a straight-edged tool.
While this works well for sugar, it can be problematic for flour because it has a habit of compacting. On occasion, you will see recipes that suggest you first take a whisk to it to incorporate air and reduce compaction.
Of course, just to further complicate things, you will come across recipes that instruct you to first sift the flour and then measure it using the dip and sweep method. So which method is right? Whichever one the recipe calls for because that is how the author decided it should be measured. To make a long story short, use the cup size called for and following the instructions, measure the ingredients carefully.
So, let’s go back to that cake you are going to bake; dip and sweep and whisk and sift mixing and folding and into the oven it goes. You eagerly wait for the timer to go off and when it does, you pull the layers from the oven. After frosting and decorating, you finally slice yourself a generous wedge…and what a disappointment. It’s dry, it’s gummy, it’s just awful, nothing like you expected. As you blame the recipe for the results, take a moment to consider that perhaps something else was at play here.
Check if your measuring cups are accurate
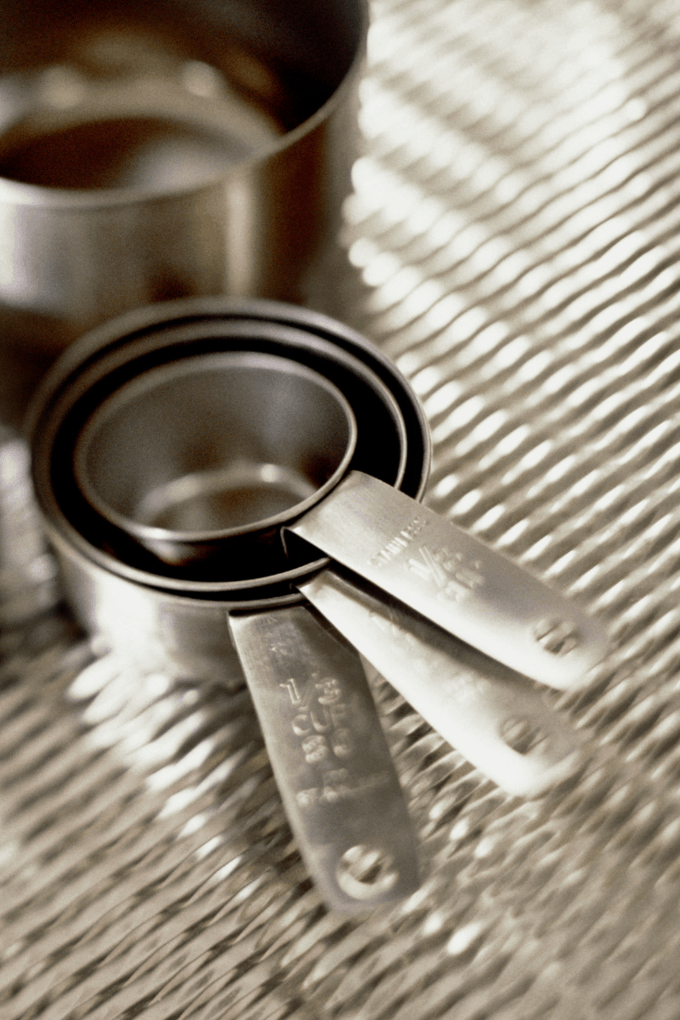
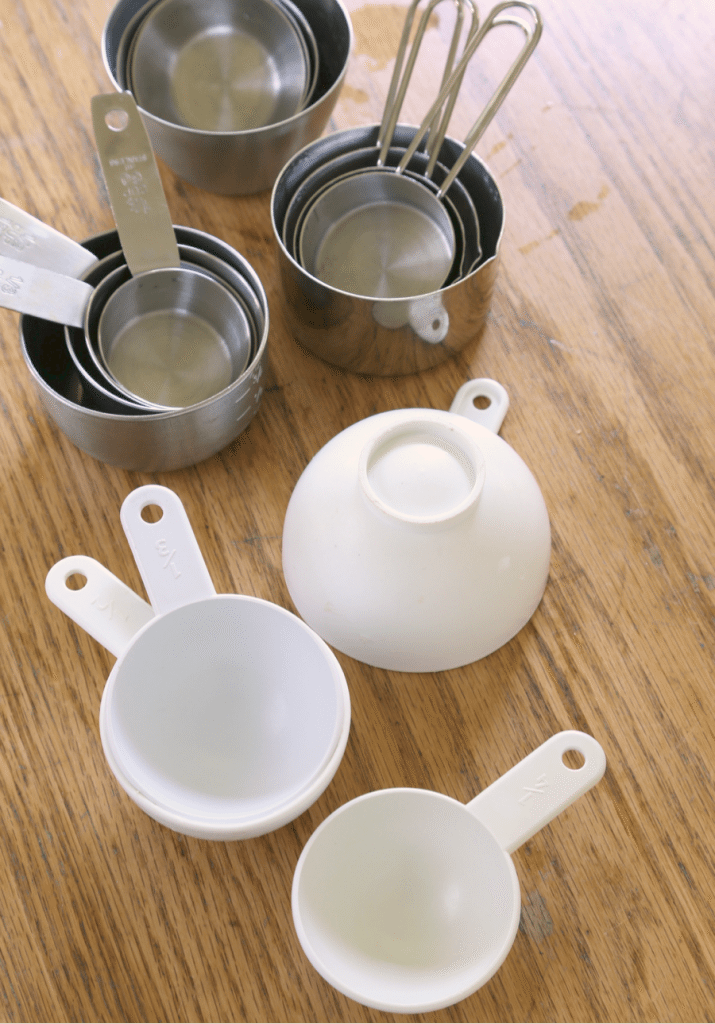
We all make assumptions when it comes to measuring cups, mainly that if the volume of the cup is imprinted in it, it must be so. After all, we have standardized volumes for a set measuring cups, at least that is what we are led to believe. However, just like clothing sizes vary from manufacturer to manufacturer, apparently, so do measuring cups! Trust me on this one, I have at least 4 sets of measuring cups and this is something I figured out a long time ago. To be honest, I have one set that I suspected was so far off, that I stopped using it for.
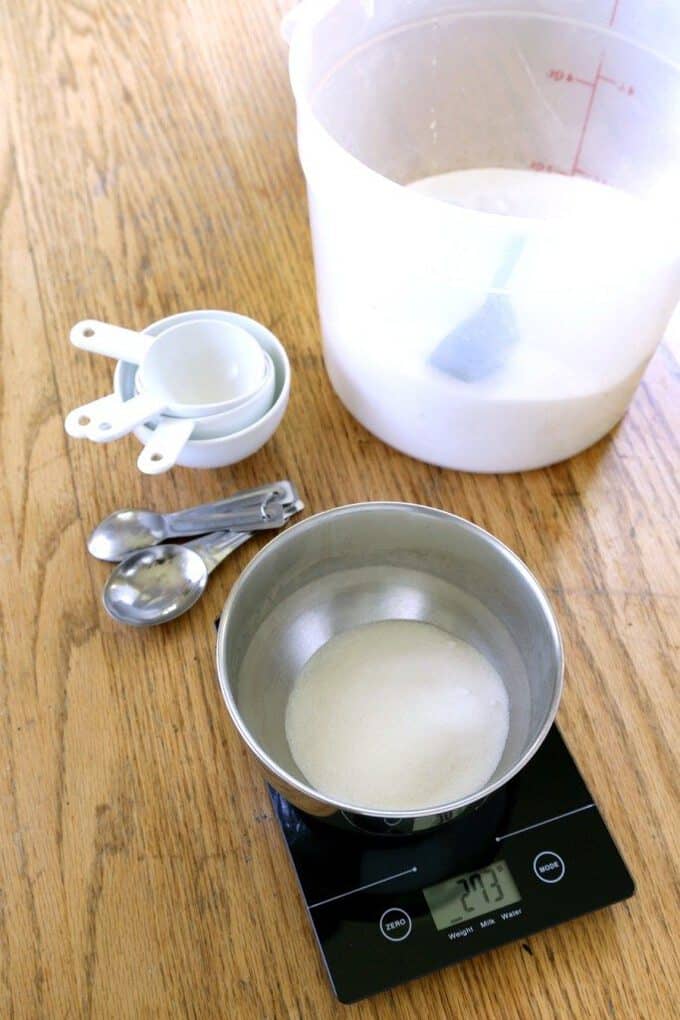
Because I am curious by nature, I grabbed my digital scale and all 4 sets of cups and set out to see just how they measured up to the standards. Measuring cups work with a standard volume and for this experiment, I chose to use metric standards because they are much smaller amounts and would show the inconsistencies more accurately.
According to Google, the standardized volume of one dry cup is 236.588 milliliters, which I rounded to 236 to keep the numbers whole. For the sake of argument, the standards I was setting are as follows: 1 cup-236ml, 1/2cup-118ml, 1/3cup-79ml and 1/4cup-59ml. Using water because it has an equivalent weight and volume(meaning that 236ml=236g), I filled each cup in the set and measured the weight. Not only was I right about that one odd set, none of my sets met the standards!
While some were only off by a milliliter or two, they were still off. It might be worth mentioning here that I also checked a few measuring spoon sets and surprisingly, they were all on the money; 1 tablespoon is 15ml and 1 teaspoon is 5ml, the other spoons had volumes that were too small for my scale to measure.
How my measuring cups measured up
So how did they measure up? My 1 cup measures ranged from 217ml to 251ml, 1/2 cups from 113ml to 133ml, 1/3 cups from 74ml to 85ml and 1/4cups from 52ml to 62ml. Out of curiosity, I switched the scale setting to measure grams and repeated the process with sugar.
According to a handy chart that can be found on the King Arthur Flour website, 1 cup of sugar should weigh 199 grams and that would make 1/2cup 100 grams (rounded for ease), 1/3cup 66 grams and ¼ cup 50 grams. My sets were once again all over the chart; 1 cup from 200 to 229 grams, ½ cup from 97 to 113 grams, 1/3 cup from 64 to 74 grams and ¼ cup from 46 to 54 grams.
While some of the numbers were pretty close, let’s concentrate on that one set that was not, the America Cooks set. When I filled the full cup with sugar, it came in at 229 grams, 30 grams over the weight according to the KAF ingredient chart. If my recipe called for 2 cups of sugar and I used this cup to measure it, I would be adding an extra 60 grams of sugar or nearly 1/3 cup more than I needed. In a batch of jam, that amount probably would not do any harm, but in some cake recipes, extra sugar could cause the cake to sink in the middle.
If we were measuring out flour, the problems could be two-fold; the difference in the volume of the cup and the manner in which you filled the cup can both affect the amount of flour you actually add to the recipe! As I have already mentioned, that inaccurate 1 cup measure actually holds about 12% more than it should, combine that with compacted/improperly measured flour and I have the potential to easily add 12-25% more flour than I need and a cake with 25% extra flour is a cake that will be heavy and dry.
How to measure your measuring cups
How do we solve this problem? We set the cups aside and reach for the scale. In the professional world, recipes are prepared by weight to control costs and consistency. In the past, scales were a luxury but that just isn’t the case anymore and finding one is as easy as walking into the grocery store and visiting the housewares section or ordering one off the internet.
My simple scale came from a grocery store and cost less than $15 and I use it for everything I can from weighing meat to measuring ingredients. By using a scale and the list of weights from KAF(who did lots of testing to come up with that list) you can eliminate some of those disappointments.
Do you love to bake?
Follow Alisa on social media here: Instagram- @janeofmanytrades // Twitter- @janeofmanytrade



That’s a really interesting experiment to do with the measuring cups. I am usually in the habit of using scales – it actually means less washing up because I can often just pop the mixing bowl on top of the scales. Plus my scales have the option for toggling between metric or imperial measurements, which helps me usually working in metric (in Australia) but wanting to try recipes that use imperial.
Measuring ingredients is SOOOOOOOOOOOOOOOO important! I can’t tell you how many times I have someone email me complaining about a recipe only to find out instead of using a cup measure, they’re used a drinking glass or they squish the flour into a cup measure and over pack it. It really can make or break a recipe!
Haha I know! And I never would have even thought about the fact that measuring cups could vary!
Oh wow, that is amazing that our measuring cups vary so much in size, and I never thought of weighing ingredients, but that makes so much sense! WOW. Thank you for teaching me this.
Mind blownnnn! I had no idea that measuring cups vary. This is probably why half my baking comes out wacky straight from the oven! Thanks so much for this girl!
i had no clue that measuring cups can be different..learning something new everyday.
I definitely second this accuracy method! Weighing everything makes a difference. Plus, sometimes I end up using the 1/3rd cup instead of a 1/4th cup, or vice versa! 😉
I had no idea that measuring cups could be so off. Thanks for sharing.
I do love metal measuring cups and spoons, but I’ll have to check sometime to make sure that they are accurate.
I had no idea that measuring cups vary! I’m definitely checking out her blog!
This was a very interesting post. I never knew that measuring cups could be so off. I have started to do more weighing so will have to add this to my baking too.