My Favorite Food Photography Props
After running a food blog for the past decade, I’ve learned a lot about food photography. As my style has evolved and my photography has improved, I’ve found that the right food props can make a huge difference. Choosing the right design, size, and shape of a dish or background can greatly impact your final images.
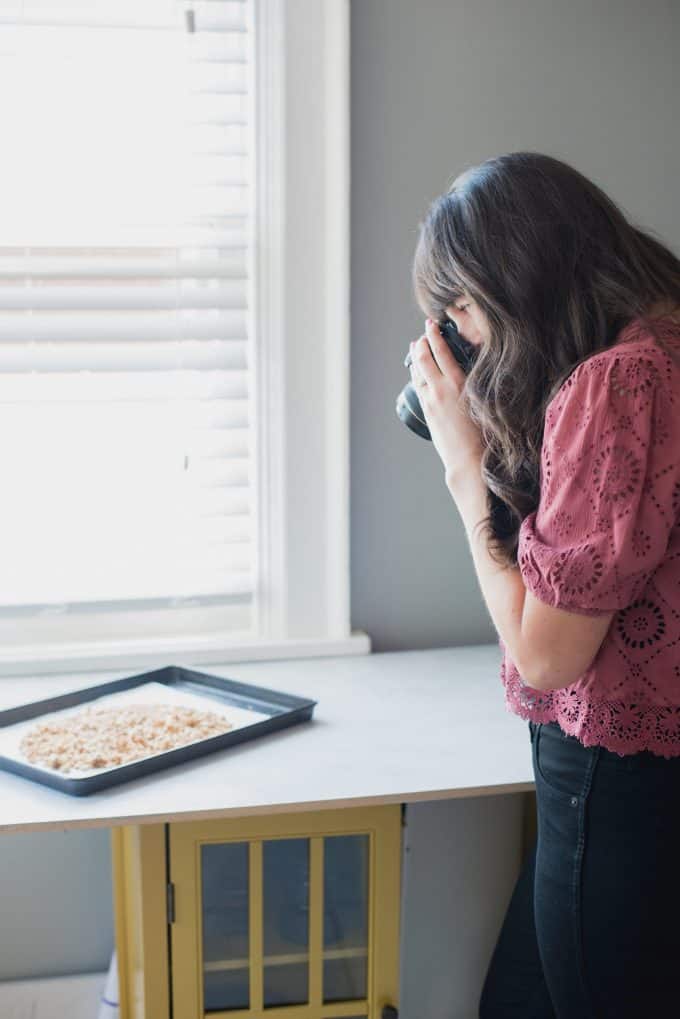
While there are many factors at play in getting a gorgeous shot, having the right backgrounds, dishes, and props can make a big difference! If you’re interested in food photography, I wanted to share some of my favorite dishes, backgrounds, and props!
Start with Small, Matte Dishes
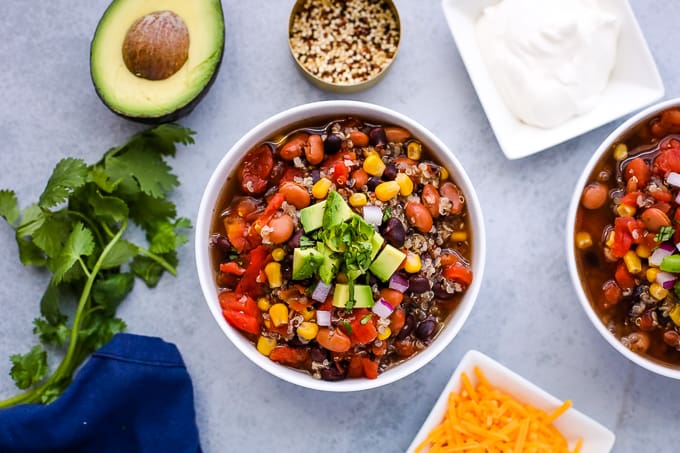
When picking out dishes, I highly recommend choosing a smaller dish with a matte finish. Shiny dishes can create reflections and glare, so a matte finish makes it easy. Picking a smaller size will make the portions feel larger. For bowls, I like to use wide, shallow bowls. This makes it easier to show a range of colors and textures, with a regular portion size.
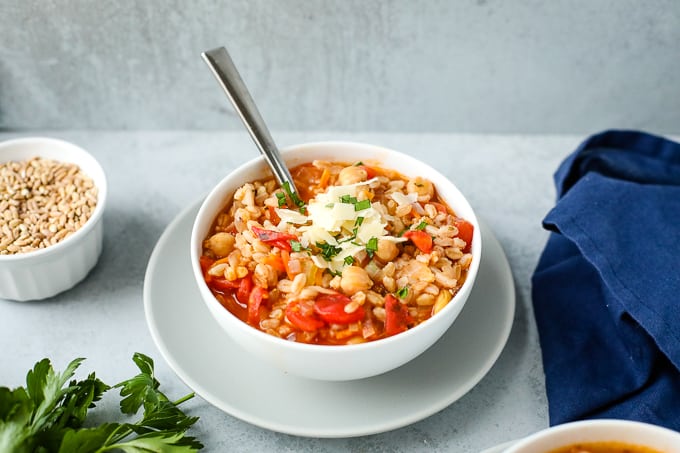
I have these matte plates from Tuxton Home in both white and grey. The small size is perfect for showcasing sandwiches, cookies, and portions of larger recipes! They’re also great for layering underneath bowls, like in the image above!
Make Easy DIY Backgrounds
If you’re not ready to invest in pricy backgrounds, try making your own! You can use marble contact paper on a piece of foam core board for an easy, wipeable background. Here’s an example of what the marble contact paper looks like as a background:
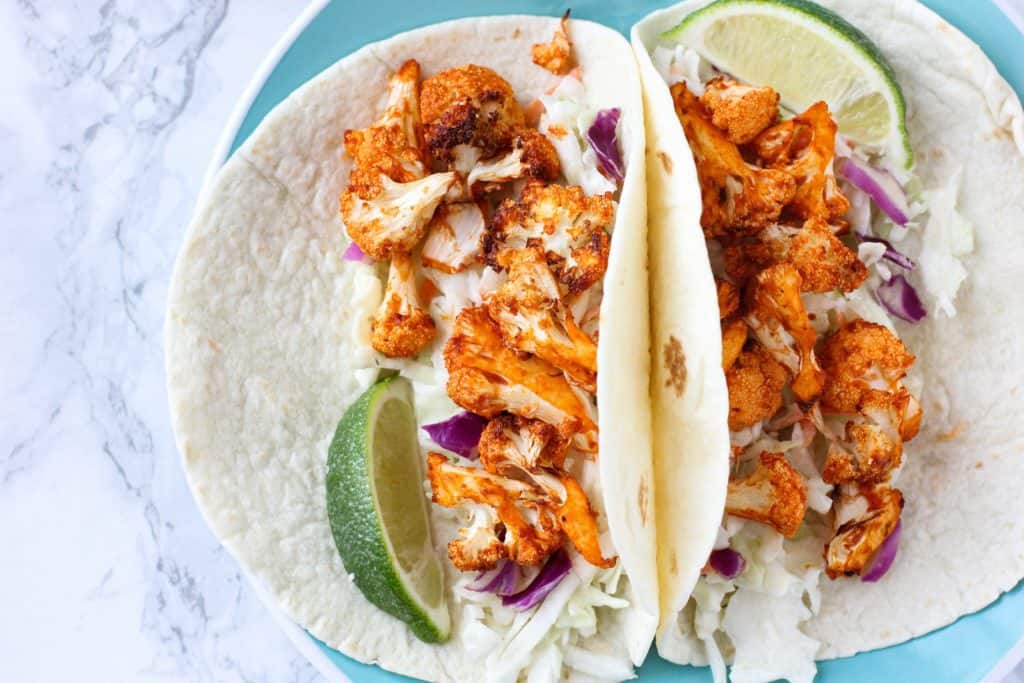
Once you’re ready to upgrade your background, you can opt for a real marble surface like this one.
If you’re looking for other DIY background options, you can make your own for just a few bucks! Buy a large sheet of plywood from the hardware store, paint it a neutral color, then seal it with a matte sealant. The sealant will make it easier to wipe clean, but won’t create unwanted glare.
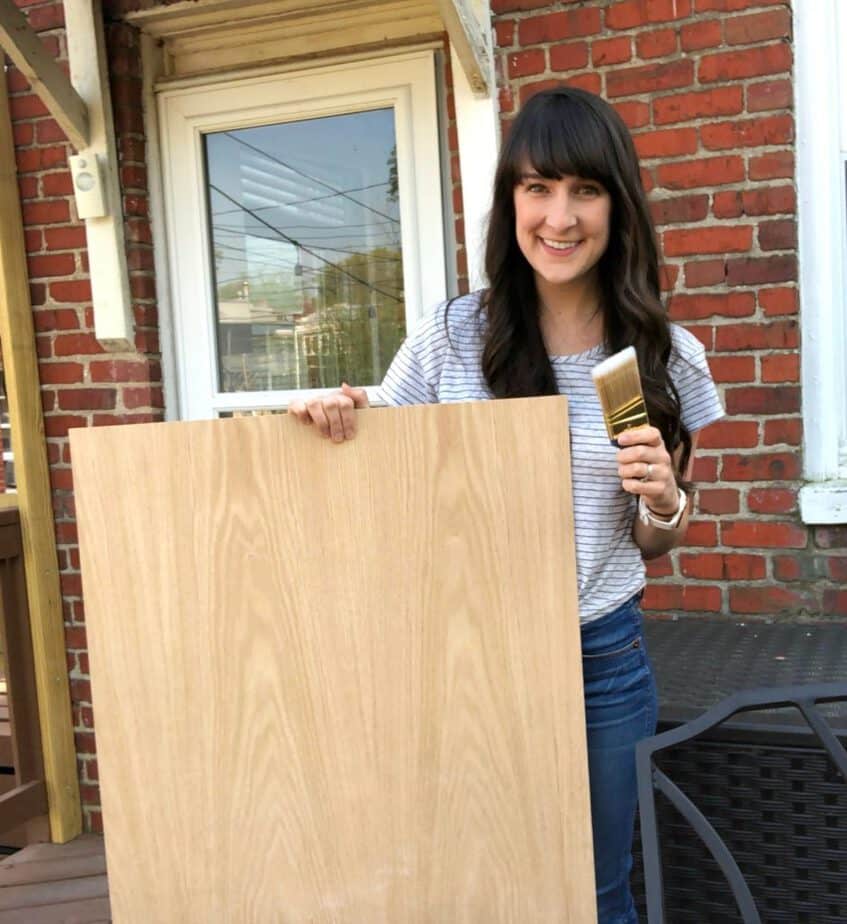
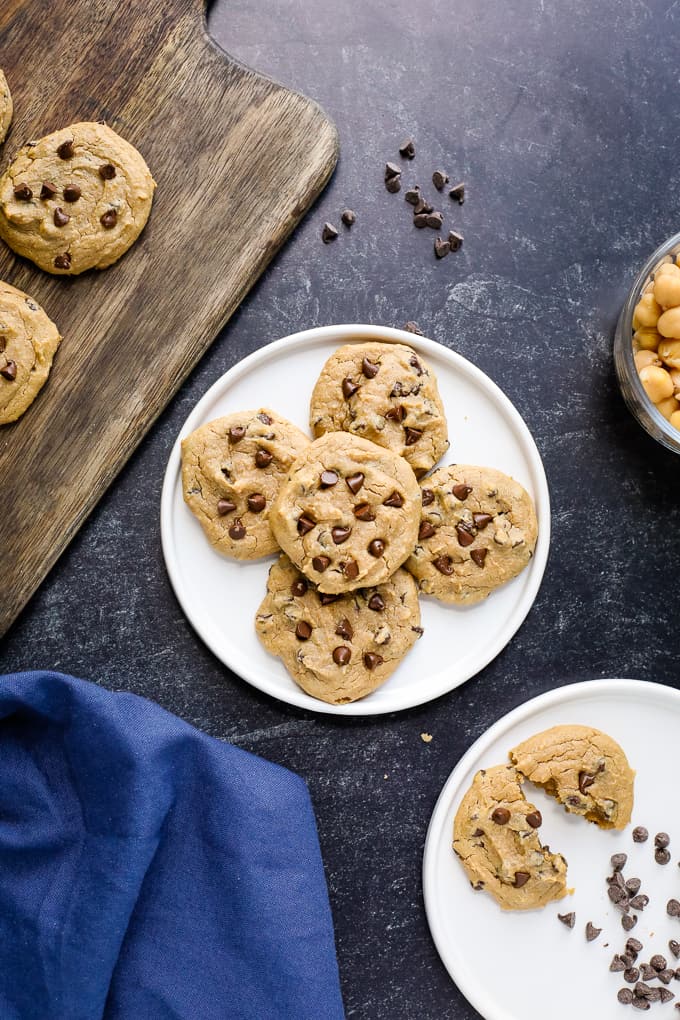
Here’s an example (photo below) using one of the backgrounds I made from plywood. I painted it a pale grey; then I used a sponge to lightly add a darker grey color on top. I wanted it to look like a concrete type of finish, and I love how it turned out!
Since the plywood surfaces are large, it’s great for bigger spreads or wider shots. This background is the one I use most often, and it only cost me ~$20 total to make. When choosing a paint color, I recommend a neutral grey for the most versatility.
Professional Backgrounds
If you are ready to invest in professional photography backgrounds, my favorites are from Replica Surfaces. I have the subway tile, cement, butcher block, and slate. The only downside of these is that they’re only 23″x23″. That’s large enough for most projects, but if I need a wider shot, I use my DIY background, which is 24″x48″. These backgrounds are also perfect for creating a false “wall” in an image. I like to use the subway tile and the cement backgrounds perpendicular to my other surfaces to create a neutral background.
Here’s an example of a photo using a Replica Surface on the bottom with a second surface propped perpendicular, to create the look of a subway tile backsplash.
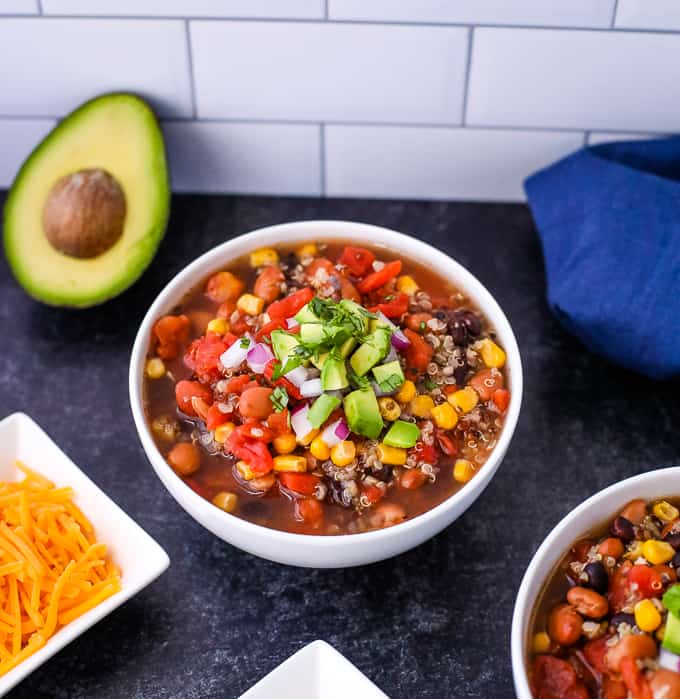
These surfaces are great because they’re lightweight, they wipe clean, and they’re easy to mix and match. But they’re definitely an investment!
Add Simple Accessories and Props
For food photography, ingredients are one of the cheapest and easiest props to use! If I’m making cookies, I might have a small bowl of chocolate chips to the side. If it’s a dinner recipe, I might have some extra herbs and spices in pinch bowls.
I also have napkins in every color, so I can easily add a pop of color to my photos! I’ve found great towels and cloth napkins at Ikea, H&M, and World Market. It’s amazing how a simple napkin can change the whole feel of the photo!
I hope these tips make it easier as you continue on your own food photography journey! If you have tips, questions, or advice, leave a comment below!

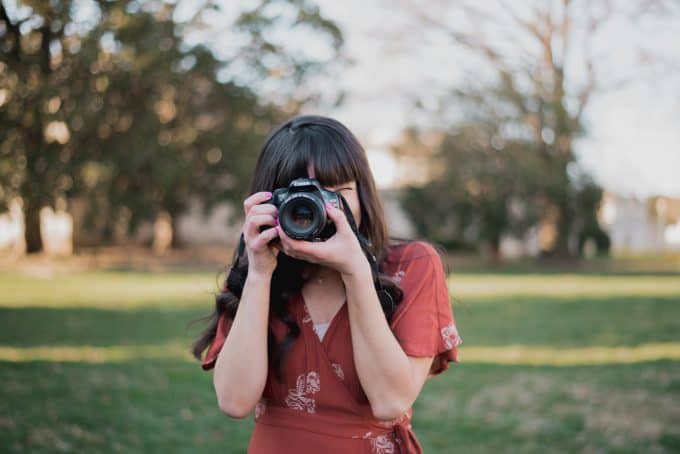
I’m interested in learning more about photography as a way to capture the beauty of food. What camera do you use to take your photos?
Thank you for your nice food photography ideas.
Thank you for this!!
These are great ideas!
Hello, I really enjoy reading this post. Would you tell me what camera do you use? I am about to star a blog and need to know. Thanks, Nyedja.
I have a Canon 5D Mark IV but for many years when I was first starting, I used a Canon Rebel which is much cheaper! 🙂
Thanks for all these nice tips for food photography. I agree that choosing the right design, size and shape impacts the final images.