5 Things I Learned While Installing a Patio
This post is sponsored by The UpSkill Project, Powered by Lowe’s Home Improvement.
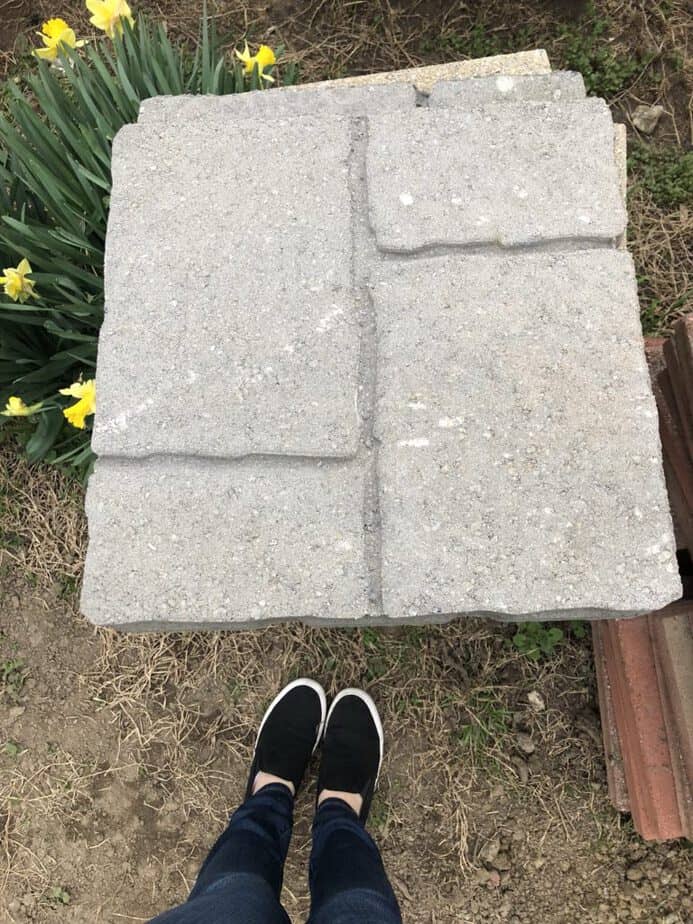
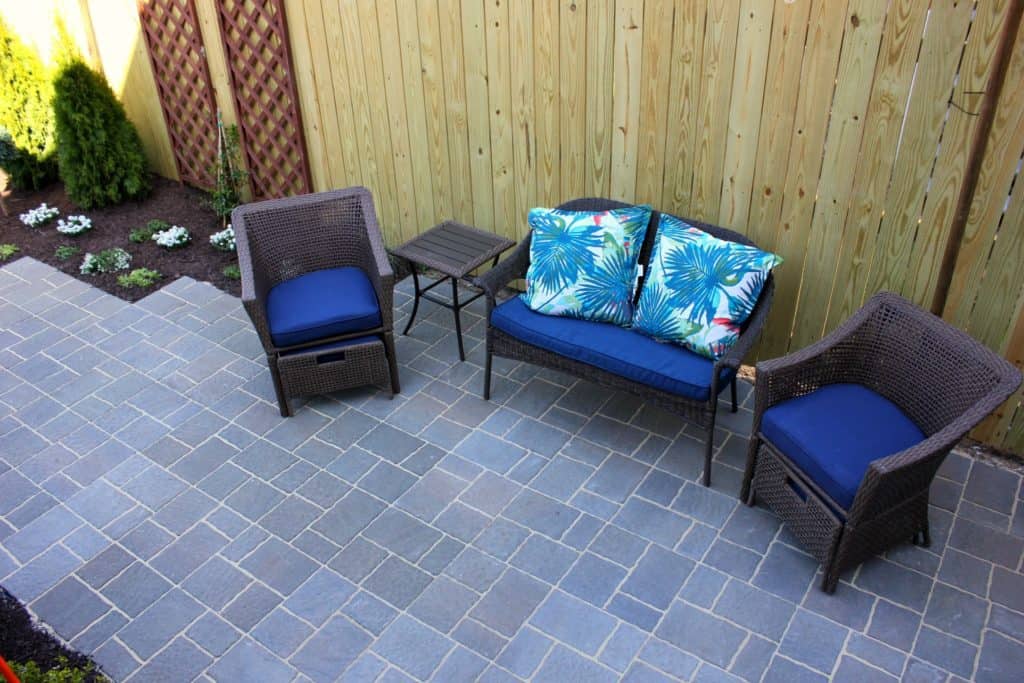
I’m so excited to share behind the scenes of our latest house project. If you’ve read my blog for a while, you know that Alex and I have done plenty of house projects, but our yard… our yard was a different story. We wanted to create an outdoor space that we would actually use, but it felt impossible. Alex and I don’t know much about plants or landscaping and the project felt too intimidating to tackle.
When Lowe’s told me about The UpSkill Project, I got really excited. The UpSkill Project is designed to empower homeowners to tackle new projects by helping them through the process from beginning to end. We needed a boost of confidence to take on the mess in our backyard, so I was excited to participate in the program! We wanted to turn our backyard into a cozy hangout spot, and our project team helped us make those dreams a reality!

The first step was working with our designer, Cherie. We explained what we wanted and she created a beautiful vision of what our backyard could become. After made a few tweaks and adjustments, she sent us our shopping list. We made a few trips to Lowe’s for all the patio supplies, plants, and furniture.
A week before our project, Andrew, our UpSkill Project Teacher, walked us through the store and helped us gather all the last minute supplies we needed. From paver restraints to potting soil, we meticulously went through our shopping list. All that preparation meant we hit the ground running when our project began!
On Tuesday, our UpSkill team came over to help us get things done! We had a crew of people come over to teach us how to lay a paver patio, how to properly plant all of our landscaping, and how to take care of it in the future. It was an exhausting couple of days but we had a blast working with the crew! Andrew led us through all the steps from start to finish.
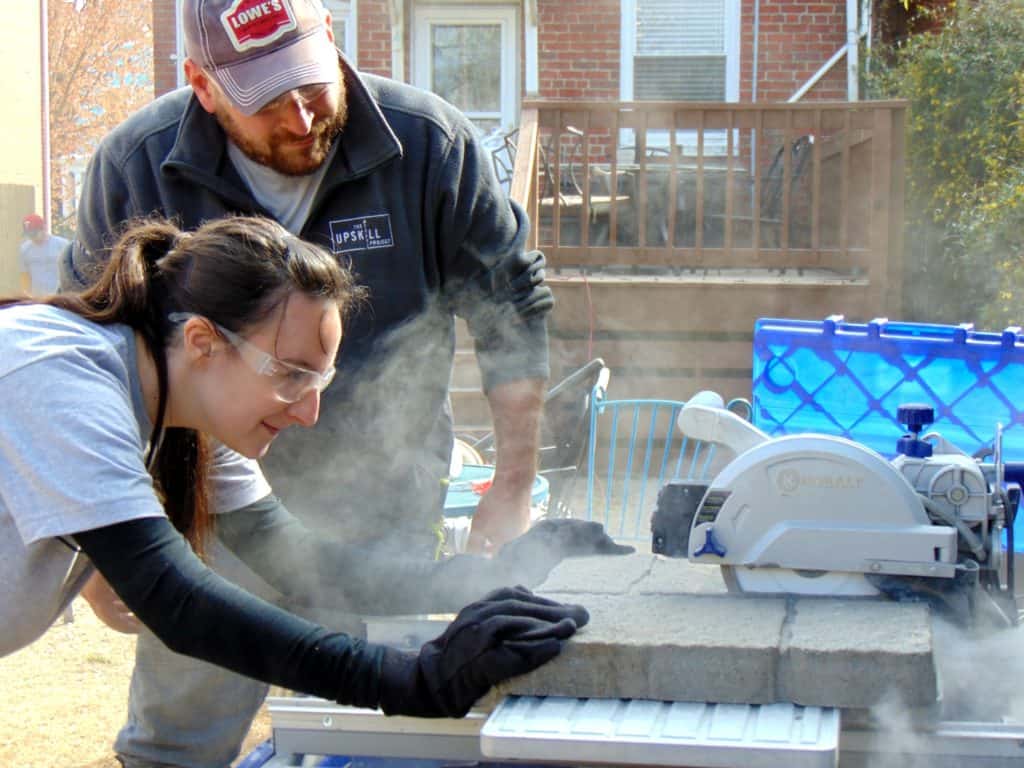
Andrew’s motto was “I do it, then we do it, then you do it.” He showed me how to do something, then we’d did it together with him guiding me, and then I did it on my own! You can probably tell by the photo, I had fun learning how to use the wet saw. 😉 Usually, I let the “experts” use the power tools but on this project, I jumped in with both feet.
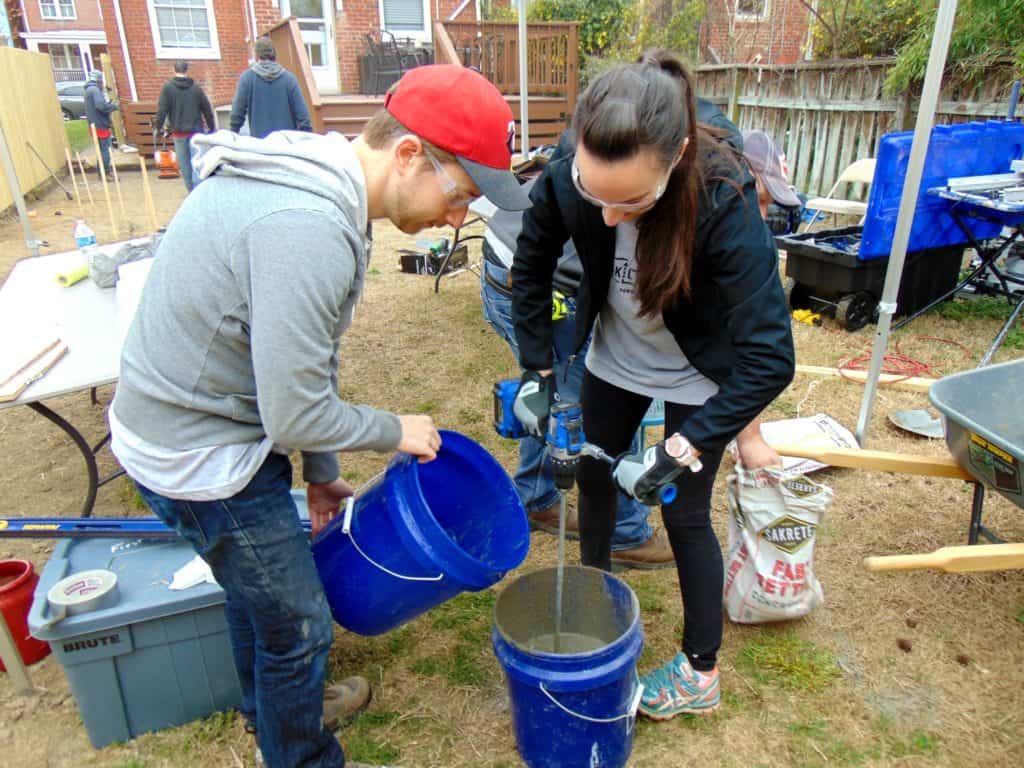
With every challenge that came up, Andrew helped us brainstorm solutions, and then our team would help us make it happen. It turned out to be quite a transformation.
After two days of digging, lifting, installing, and planting, I learned a few things about tackling a scary project.
Here are my tips for any DIY project:
- Plan ahead! This one might sound obvious but I’m the type that likes to “just wing it.” Spoiler alert: that’s not the best approach. Having a clear plan from start to finish made it easier to anticipate any hurdles and it meant fewer trips to the store for extra supplies.
- Don’t be afraid to ask for help. From start to finish, I asked so many questions. (Seriously, Andrew was a saint.) Whether it was about where the water would drain or how to take care of an evergreen shrub, I wanted to make sure I had answers! If you’re taking on a new project, find a friendly face at Lowe’s and ask! If they don’t know the answer, they can probably direct you to someone who does.
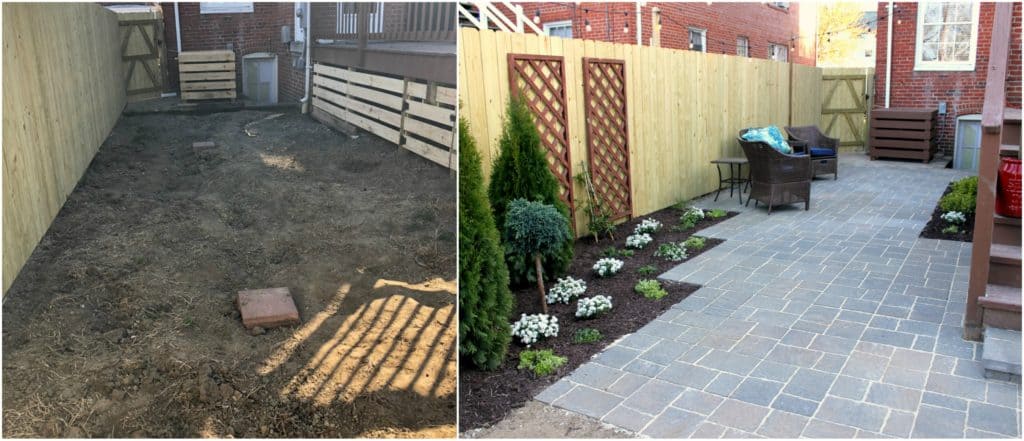
- The hardest part is getting started. There was a moment at the very start of the project when our yard was a giant pit of half-dug-up dirt that I was like “oh my gosh, what was I thinking, there’s no way we can do this.” At that moment, the project felt SO BIG. But you know what? Once we got started, things fell into place and I could see it coming together. The panic quickly subsided 😉
- You’re probably a lot better at DIY projects than you think. I don’t usually think of myself as a DIY-er. Alex and my dad are both super handy when it comes to house projects, but me? I often shied away from the “hard” stuff. Turns out, with a little instruction, I’m not so bad! Rather than waiting for the guys to use the power tools, I jumped right in and learned how to do everything from tamping down the dirt to laying the paver stones.
- Attitude is everything. There was a moment during the week leading up to the project when I was a little ball of stress and Alex pointed out that it wasn’t going to be fun for any of us if I was wearing cranky pants. (Ok, he didn’t say it quite like that. But you get the point.) He was right, so I gave myself an attitude adjustment. By the time the project actually started, I was as cool as a cucumber. I had a total blast. The team we worked with was upbeat, hardworking, and hilarious. Not only did everything fall into place, there were plenty of laughs along the way.
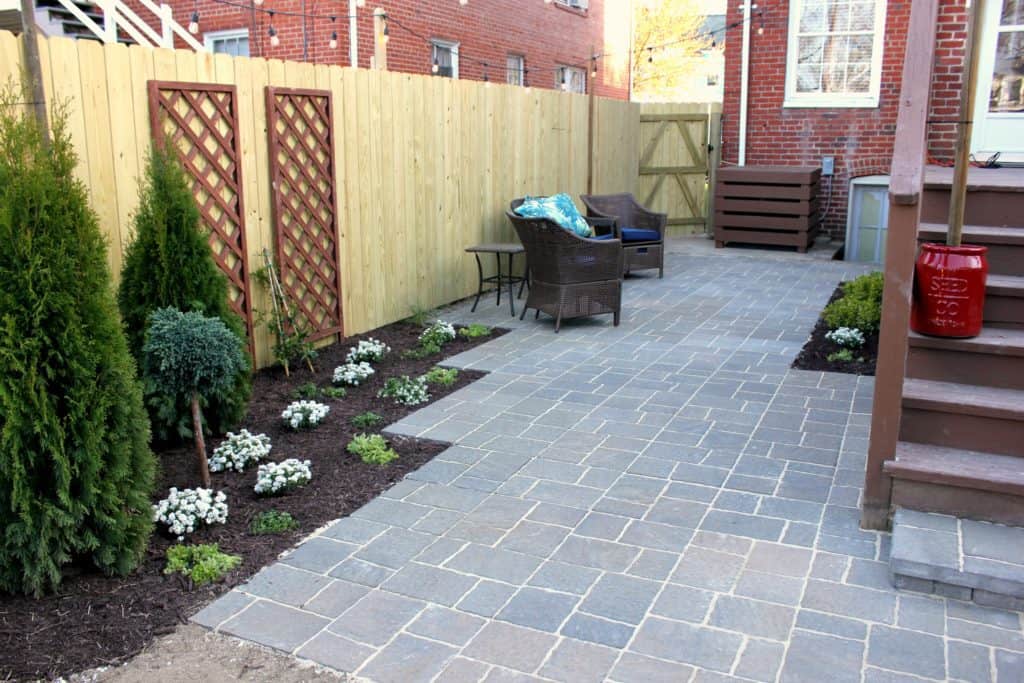
I’m so excited to have an outdoor space that we love! (Plus, I finally convinced Alex we should get a pizza oven.) Not only does it look awesome, but I’m pretty proud that we learned how to do it!
Depending on where you live, you might still have time to submit for an UpSkill Project in your area! See the schedule and eligible cities here. If you missed the contest entry or weren’t picked as a winner, Lowe’s will be hosting workshops at different locations around the country. I’ll be attending the Richmond workshop this Saturday from 10am-1pm at the Lowe’s in Midlothian so if you’re in town, come hang out with me! You can also check the website to see when a workshop will be coming to your town!

Recently, I had the opportunity to install a patio in my backyard. I was excited to do this project, but I also had no idea what I was getting myself into. Thankfully, I stumbled across a blog that went over 5 Things I Learned While Installing a Patio. After reading and following the steps outlined in the blog, I was able to complete the project successfully. I learned that the importance of proper planning and preparation could not be understated. Taking the time to research the best materials, tools, and techniques to use was essential to ensuring the success of the project.
I also want to add that ensure the pavers are dry, spread all the polymeric sand, and broom it into all the cracks. Wet it in with water and let it dry. The poly only lasts for about three to five years, depending on the treatment of the pavers. I used to sand them with masonry sand and done. Whenever we have a high flow area because of drainage, we use the poly to stop washing out.
What a journey you had installing your patio. great of you to share your experience. As a local paver myself, I like the outcome of your project. Really good!
We are in the process of making a paver patio. We live in North Georgia. When we dig up our grass it is hard red clay. With it being clay dirt, would we have to put crushed gravel down, or could we put down landscape fabric and sand before we put down the pavers?
This is very important and informative article.
Where was the stone from?
We got it at Lowes!
Premium Lifestyles are a leading Brisbane builder and designer that offers value for money and outstanding quality.
https://www.premiumlifestyles.com.au/patios-brisbane/
Great Blog! You have shared very useful information. Keep sharing such blogs in future too. Thanks