DIY Food Photography Backgrounds
This post is sponsored by The UpSkill Project, powered by Lowe’s Home Improvement.
I’m not turning in into a DIY blogger, but I thought I’d share my latest project since it’s kind of behind the scenes on the blog! Over the years, I’ve had quite a few people ask me about food photography backdrops so I decided to make a little post about some of the newer backgrounds I made!
Lowe’s recently helped me install a paver patio in my backyard and after the project, I attended a free workshop at the Lowe’s in Midlothian where I learned things like how to lay tile, repair drywall, and paint furniture. They showed us some handy hacks like how to repair a hole in drywall or how to prep a surface for painting. There was even a station to learn some plumbing basics! Check out my focus on grouting some tile.
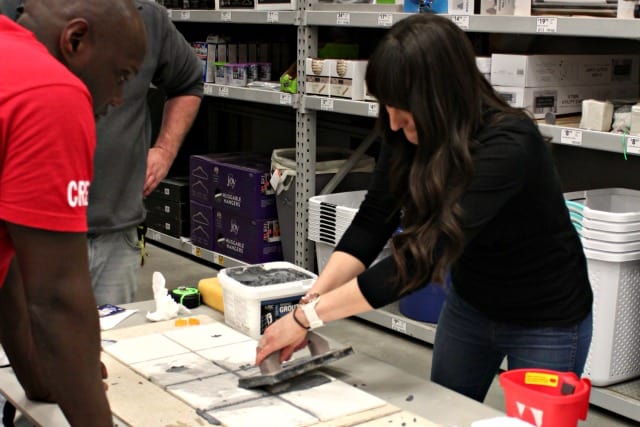
Photo via Ashley at Attempts at Domestication
The various workshops made me realize that a lot of the things I assumed were really difficult were actually things I could do on my own. You can see more about The UpSkill Project workshops on my friend Ashley’s blog! While I was practicing how to apply grout at the tile station, I started thinking about how it would be a cool background for a photo!
Now that I have a little more confidence in the DIY space, I decided to keep things rolling and refresh some of my photo backgrounds. I spent quite a bit of time browsing the aisles of Lowe’s for inspiration and I found some really good options!
It took me about 2-3 hours to go to Lowe’s, pick out the materials, and make the backgrounds, so this is totally possible to do in one afternoon!
DIY Photo Background Tips
A few things to note before you get started:
- Make sure to measure your space before you pick out materials. I personally like to use backdrops that are at least 18”x24”. Anything smaller than that can be tricky unless you’re doing close up shots. I don’t like to use anything larger than 24”x48” since they can be a little hard to move around.
- I’d generally recommend looking for matte finishes whether it’s paint, glaze, or tile. You don’t want a lot of reflection or glare in the photos. It’s not a hard and fast rule, but it’s usually easier to work with. (See my favorites below!)
- Spend some time browsing the store and keep an open mind about what could make an interesting background!
Here are three photo backgrounds you could make for less than $50 in one afternoon!
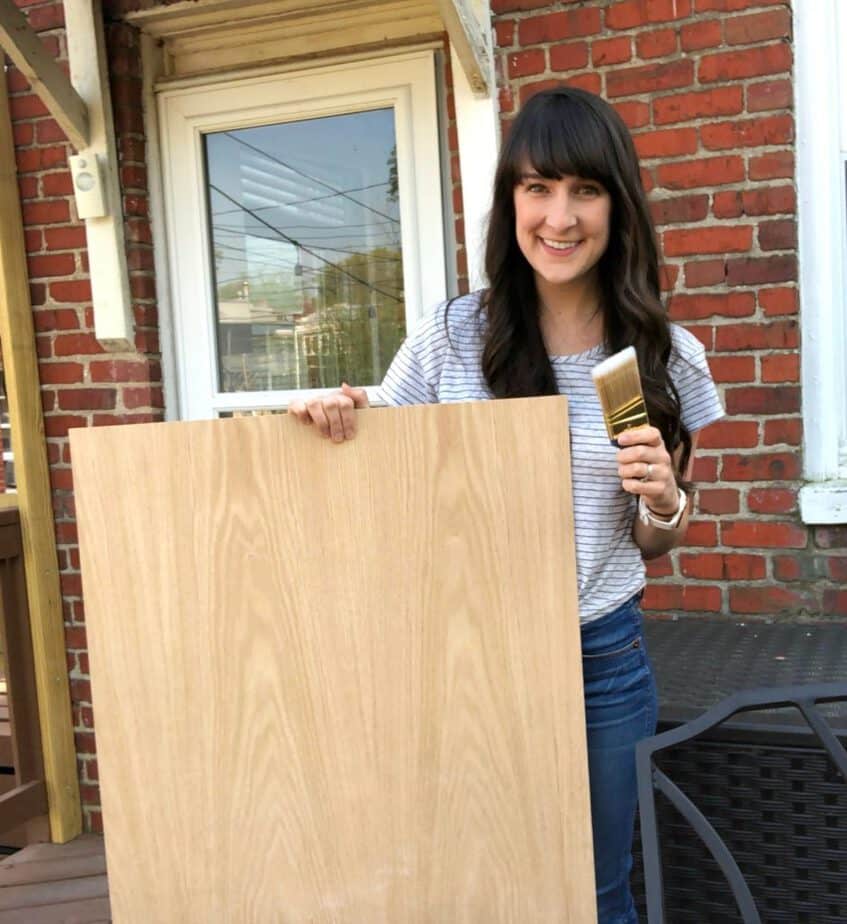
1. Plywood + Chalk Paint
Pick out a thin sheet of wood from the lumber section. I recommend finding the thinnest sheets possible because it’ll make it easier to move them around when you’re taking pictures. I bought a sheet of oak plywood that was 24”x48”’. It was larger than I needed, but I felt pretty confident using the table saw if I needed to trim them down to fit my photo table. I’d recommend getting a piece slightly larger than you think you need because it’ll give you more flexibility if you decide ti trim it.
Lowe’s sells Valspar Chalk Paint in a spray paint version, so this is super easy to do. I’d say it took about 10 minutes total.
Here’s what the background looks like in a photo. This one is super basic and is perfect to make the focus all about the food!
2. Plywood + Paint + Glaze
I wanted to switch up the look so I snagged a second piece of plywood plus a paint sample from Valspar (they’re only like $3!) and some of this glaze which gives it more of an antique look. I wanted to go for a distressed wood background, so this was perfect. I painted two coats of the sample paint as a base and then once it was dry, I covered it with this glaze.
You have to move quickly to prevent the glaze from going on too dark. But with a little elbow grease, you’ll end up with a gorgeous distressed background.
Here’s what a photo on the plywood with paint and glaze looks like.
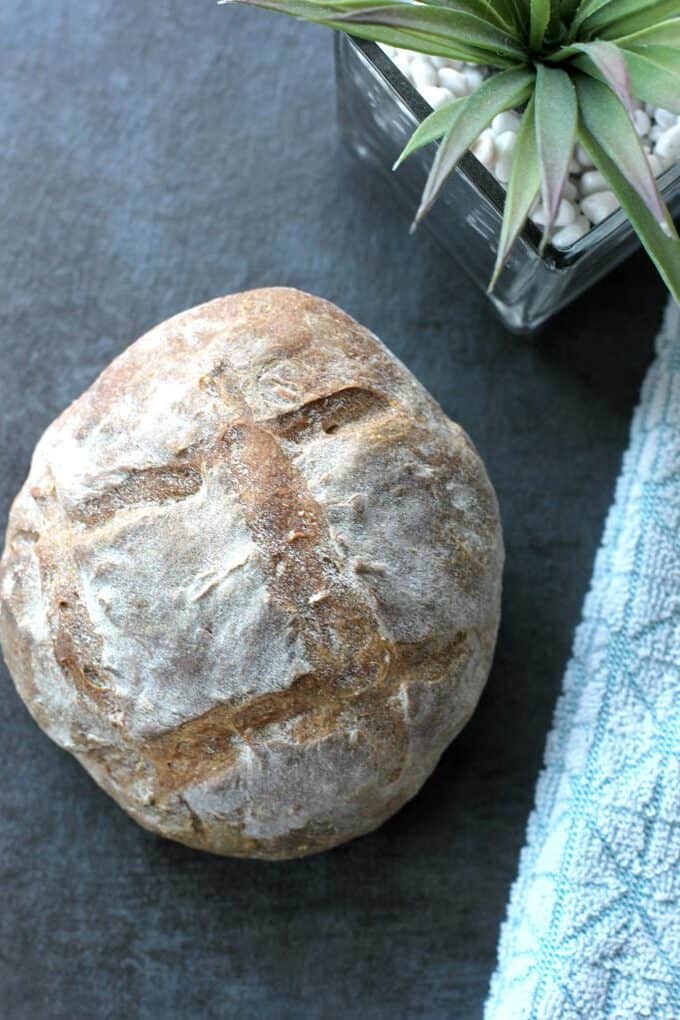
3. Individual Floor Tiles
I’m not sure why I haven’t done this before but when I was browsing the tile aisle I noticed that the larger tiles would be perfect for a backdrop. I ended up grabbing two large ceramic tiles that have a marble background and then two different 24 X 24-inch vinyl tiles. The ceramic tiles are super pretty, but they’re a little harder to maneuver. So, if you’re looking for something really easy, I’d go with the vinyl option.
To make the vinyl option a little sturdier, you can get the peel and stick kind and stick them to a sheet of plywood. I actually like using them almost like a placement, so you can layer them with other designs. They’re also great because they come in a matte finish.
Here’s a photo of a loaf of bread that Alex made (isn’t he amazing?) on a vinyl tile background.
I’m so excited about how these turned out and it’s nice to have some other options in my photography set up! I was getting a little bored with my current backdrop so it was fun to switch it up.
The Best Matte Plates for Food Photos
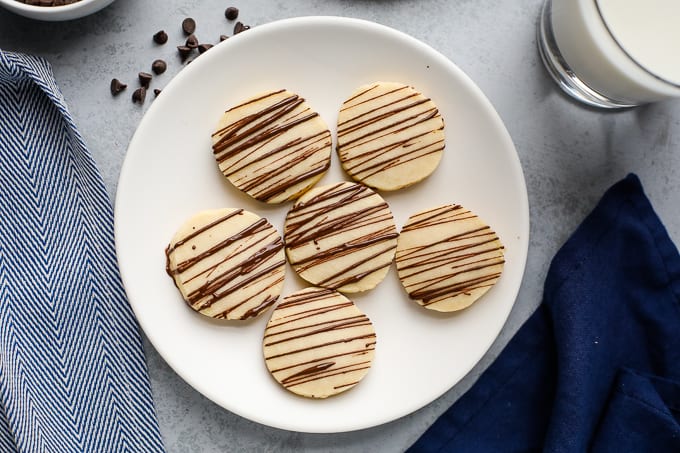
I love the Zion collection from Tuxton Home. I have their plates in both white and grey. They have the perfect matte finish and the 7″ salad plate is the perfect size. I like using smaller plates so the portions look bigger!
Here are some shortbread cookies on the Zion White 7″ plate.
And here are my cheesecake stuffed strawberries on the grey plate.
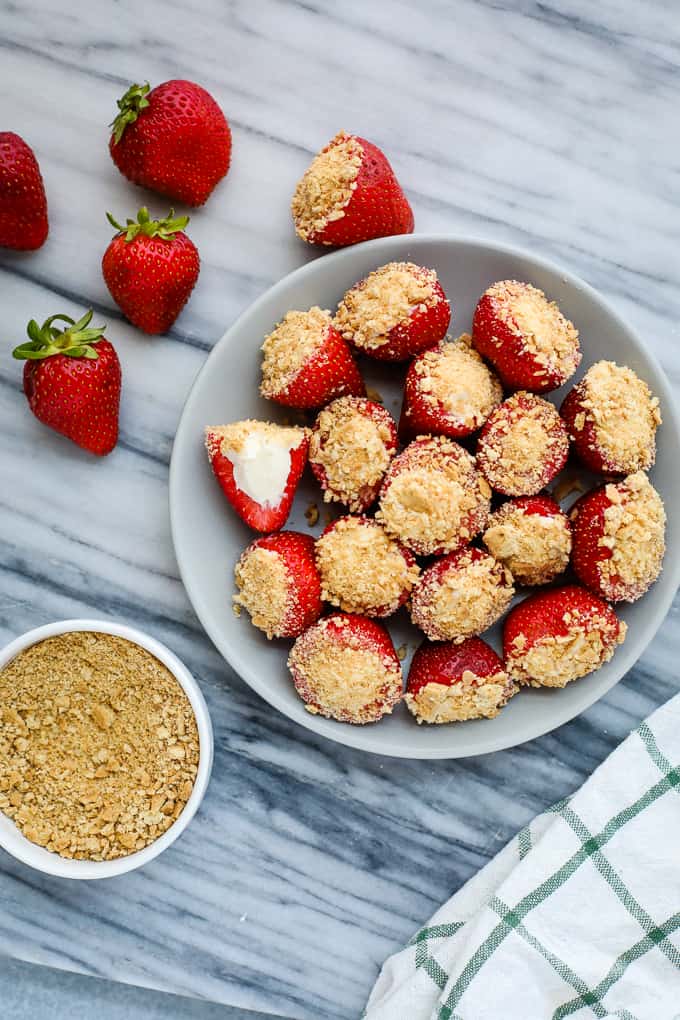
When picking colors of plates, I recommend a true white, grey, or charcoal. I try to avoid off white plates because I feel like it can make other colors look strange. If you’re looking for matte white plates, definitely try the Tuxton Zion collection.

I love the tile suggestion and can’t wait to pick some out!
I have some floor tiles leftover from a project that I could use as-is and cover with contact paper. Thanks for these tips!
Ooooh my goodness, I need to do this! The counters in our kitchen are horrendous and photographing anything on them is the absolute worse. THANK YOU from the bottom of my heart for this post. 😉
This is fantastic! I love your suggestions!!! I love finding new tips that will help with my photography! Thanks for sharing your ideas. 🙂
I love love love these tips. Also using contact paper with marble print is another trick I’ve learned! These are such great tips even for flat lay photography.
Safaniya Stevenson
http://www.burlyandpuff.com
I need to learn how to repair a hole in dry wall – my closet literally came tumbling down last night! I guess I have too many clothes ha!
Anyyyyways, this is such a fun idea! I’m always looking for more flat lay backgrounds, I can only use my countertops so many times in a row!
That is so interesting and I appreciate you sharing. I’ve wondered what people and bloggers use for backdrops.
Awesome ideas! I need to make a few of these backdrops for some of my flatlay photos!
Love these ideas! I always find myself using the same woven wicker placemat. Great to switch it up!
I love the tile idea and I will stop by Lowe’s today! Thank you for the inspiration!